How to Make Slime at Home: Step-by-Step Guide for Kids

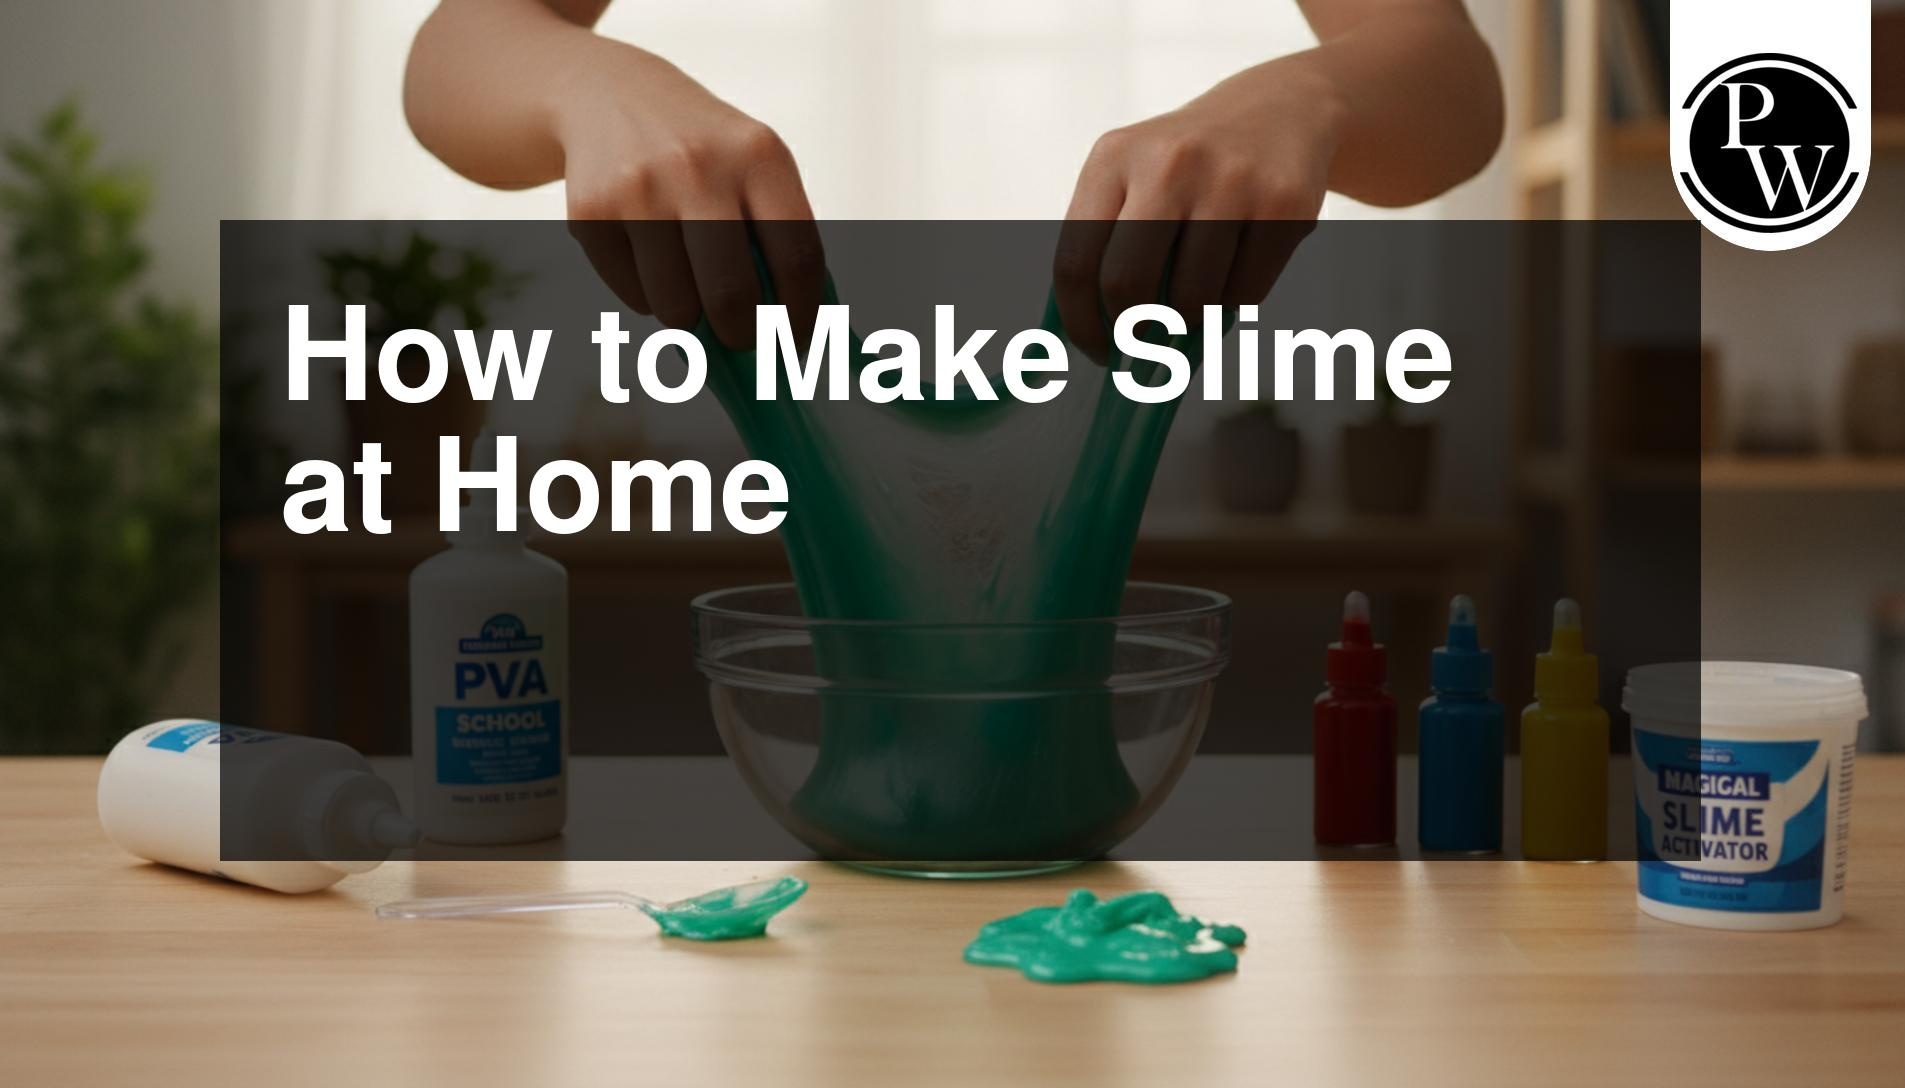
Learning how to make slime at home is a fun, hands-on activity that doubles as an exciting kids science experiment. Many parents struggle to know how to make slime at home- a mess-free crafts that keep children engaged without requiring expensive supplies.
This article offers simple recipes using everyday household items to create stretchy, colorful slime safely. You will learn the basic science behind slime formation, step-by-step instructions for classic recipes, safety guidelines, and tips for easy cleanup.
Why Make Slime at Home?
Making slime at home is a fun and easy activity that lets kids enjoy creative play while learning simple science concepts. With a few common ingredients, children can make colourful, soft, and stretchy slime while exploring how different materials mix and change. This guide explains how to make slime at home with easy recipes, useful tips, safety steps, and simple ways to fix common slime problems.
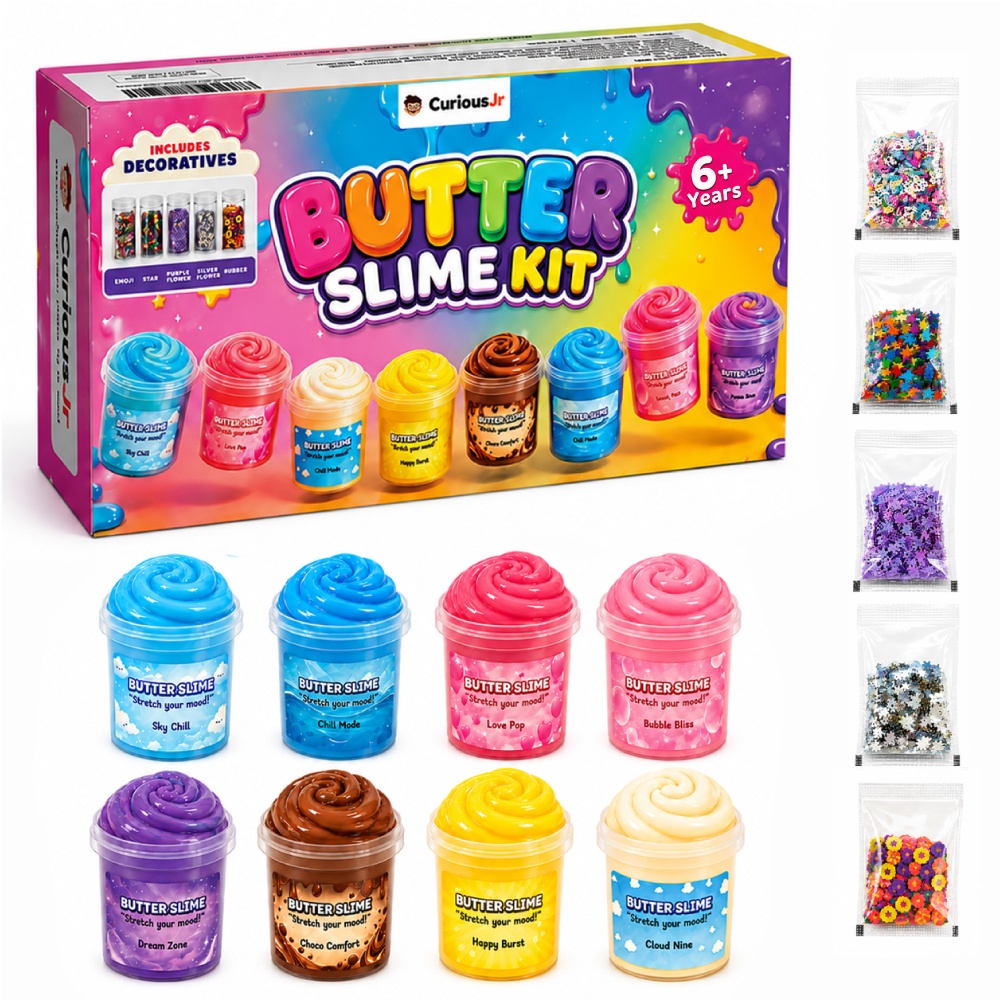
Features of Mini Slime Kit for Making Slime at Home
Keep children busy with fun, hands-on slime activities that support creativity, sensory learning, and imagination. Designed for children aged 4 years and above, this slime activity set is perfect for home, travel, weekends, and quiet playtime.
6 Fruity Scents: Enjoy six fun fruity fragrances that make slime play more exciting. The different scents also give children a chance to explore their sense of smell while playing.
Bright Colours & Glitter: Colourful slime with sparkling glitter creates an exciting visual experience. Children can mix, stretch, shape, and play while expressing their creativity.
6 Fun Molded Lids: The six uniquely designed molded lids add more fun to play. Children can use them to create different shapes while improving imagination and fine motor skills.
Safe, Stretchy & Non-Sticky Slime: Enjoy easy and comfortable play with soft, stretchy, and non-sticky slime. Children can stretch, squish, shape, and create without making playtime too messy.
Portable & Resealable Containers: Compact containers make the slime easy to carry and store. They are suitable for road trips, vacations, classroom activities, playdates, and other activities outside the home.
Non-Toxic & Child-Safe: Made with child-safe and non-toxic materials for a comfortable play experience. Parents can let children enjoy creative sensory play with greater peace of mind.
Encourages Independent Play: Give children an activity they can enjoy on their own. Slime play helps keep them focused and engaged while encouraging creativity and imagination.
Sensory & Skill Development: Hands-on slime play supports hand strength, fine motor skills, touch-based learning, concentration, creativity, and coordination through fun activities.
Perfect Gift for Kids: A fun birthday gift, return gift, holiday gift, sensory toy, slime toy, or creative activity kit for boys and girls aged 4 years and above.
Why Learning How to Make Slime at Home Is Great for Kids
Making slime is more than just a playful pastime; it serves as a practical introduction to basic chemistry concepts like polymers and cross-linking. When children combine PVA glue with an activator, they witness a liquid transform into a flexible solid.
Beyond science, a slime recipe for kids offers several key benefits:
-
Enhances Fine Motor Skills: Kneading, stretching, and rolling slime builds hand strength and coordination in young children.
-
Encourages Sensory Exploration: The unique texture provides sensory input that helps kids focus and relieve stress.
-
Boosts Problem-Solving Skills: Adjusting sticky or stiff slime teaches children how to measure, mix, and troubleshoot simple experiments.
-
Promotes Screen-Free Entertainment: A solid DIY slime for kids project keeps them offline and engaged in tactile play.
Essential Ingredients Needed for How to Make Slime at Home
Before starting any easy slime recipe, gather your basic ingredients and mixing tools to ensure a smooth, organized process.
Basic Slime Base
-
PVA School Glue: White craft glue works well for opaque slime, while clear PVA glue creates transparent results.
-
Water: Room-temperature water thins out the glue so it mixes easily with activators.
Safe Slime Activators
-
Baking Soda and Contact Lens Solution: Combining baking soda with contact lens solution containing boric acid creates a safe, reliable slime activator.
-
Liquid Laundry Detergent: Certain clear or colored laundry detergents act as effective activators without needing additional additives.
Fun Extras
-
Food Colouring: Adds bright shades to your homemade slime.
-
Glitter or Foam Beads: Enhances texture and visually engages kids during play.
|
Slime Type |
Key Base |
Key Activator |
Texture Outcome |
|
Classic Glue Slime |
White PVA Glue |
Baking Soda + Contact Solution |
Stretchy and smooth |
|
Fluffy Slime |
White PVA Glue + Shaving Cream |
Contact Solution |
Soft and pillowy |
|
Clear Slime |
Clear PVA Glue |
Baking Soda + Contact Solution |
Glass-like and shiny |
Step-by-Step Instructions on How to Make Slime at Home
Follow this simple, foolproof method to craft classic stretch slime safely with your children.
Step 1: Prepare the Glue Base
Measure 1/2 cup of PVA white glue and pour it into a clean glass or plastic mixing bowl. Add 1/2 cup of room-temperature water to the glue. Stir the mixture thoroughly using a spoon until the water and glue completely merge into a smooth liquid.
Step 2: Add Colour and Mix-Ins
Drop 2 to 4 drops of food colouring into the glue mixture. If you want glitter, sprinkle in 1 to 2 tablespoons at this stage. Stir well until the color is evenly distributed throughout the liquid base.
Step 3: Mix in the Baking Soda
Add 1/2 teaspoon of baking soda to the colored glue mix. Stir completely to make sure no lumps remain. The baking soda acts as a firming agent that works alongside your activator.
Step 4: Add the Activator Slowly
Pour 1 tablespoon of contact lens solution (ensure it lists boric acid and sodium borate in the ingredients) into the bowl. Stir the mixture steadily. You will notice the slime pulling away from the sides of the bowl almost instantly.
Step 5: Knead by Hand
Once the mixture forms a loose clump, remove it from the bowl. Knead the slime with both hands for about 2 to 3 minutes. It may feel sticky at first, but it turns firm and stretchy as you work it. If it remains overly sticky, add 2 drops of contact solution and continue kneading.
How to Make Slime at Home Without Borax?
Many parents prefer borax-free methods to protect sensitive skin from irritation. You can easily make a safe slime recipe for kids using cornflour or alternative household items.
Cornflour Oobleck Recipe
-
Mix 2 cups of cornflour with 1 cup of warm water in a large bowl.
-
Stir slowly until the cornflour absorbs the water.
-
Add food colouring if desired.
-
This liquid acts as a non-Newtonian fluid: it feels solid under pressure and flows like a liquid when released.
Dish Soap and Starch Slime
-
Combine 1/2 cup of thick dish soap with 1 cup of cornflour.
-
Stir until the dough pulls together into a soft, squishy ball.
-
Adjust the texture by adding small amounts of dish soap if too dry, or cornflour if too wet.
How to Make Fluffy and Extra-Stretchy Slime at Home?
Fluffy slime offers a light, airy texture that pops and stretches smoothly during play.
Ingredients for Fluffy Slime
-
1/2 cup PVA White Glue
-
1/2 cup Water
-
3 cups Foam Shaving Cream (not shaving gel)
-
1/2 teaspoon Baking Soda
-
1 tablespoon Contact Lens Solution
Recipe Steps
-
Mix the glue and water together in a large bowl.
-
Fold in 3 cups of shaving cream gently until combined.
-
Stir in 1/2 teaspoon of baking soda.
-
Slowly add 1 tablespoon of contact solution while stirring until the mixture leaves the bowl edge.
-
Knead thoroughly by hand to lock in the air bubbles.
Check Out: Mini Butter Slime Kit for Kids
Safety Guidelines for How to Make Slime at Home
Safety is the top priority when executing any DIY slime for kids activity at home. Following basic guidelines ensures a clean, enjoyable experience.
-
Adult Supervision Required: Always monitor young children while they measure and handle chemicals or glue.
-
Check Ingredients: Confirm that contact lens solutions contain sodium borate or boric acid to guarantee proper activation.
-
Perform a Skin Patch Test: Test a tiny sample of slime on your child's forearm to check for skin sensitivities before full play.
-
Keep Away from Mouths: Remind kids that slime is an educational craft, not food. Wash hands thoroughly after every session.
-
Protect Working Surfaces: Lay down plastic tablecloths or silicon mats to prevent glue from sticking to wooden furniture or carpets.
How to Fix Common Issues When Learning How to Make Slime at Home?
It is common for DIY slime to turn out too sticky, stiff, or runny on the first attempt. Here is how you can easily fix texture problems.
How to Fix Sticky Slime
-
Add a few drops of contact lens solution or a splash of liquid detergent.
-
Knead vigorously for a full minute before adding more liquid to avoid over-activating.
-
Rub a drop of baby oil onto hands to prevent the slime from clinging to skin.
How to Fix Hard or Over-Activated Slime
-
Submerge the slime in a bowl of warm water for 1 to 2 minutes to soften the bonds.
-
Work a spoonful of unscented hand lotion into the slime until it regains stretchiness.
-
Add a tiny squirt of fresh glue and knead thoroughly.
How to Fix Runny or Wet Slime
-
Add 1/4 teaspoon of baking soda to help the activator react fully.
-
Continue stirring rapidly; some activators take 2 to 3 minutes to cross-link with PVA glue completely.
How to Clean and Store Homemade Slime?
Proper storage keeps your slime fresh, stretchy, and clean for weeks of reuse.
-
Use Airtight Containers: Store your homemade slime in zip-top bags or plastic containers with tight lids to keep air out.
-
Keep in a Cool Place: Store containers at room temperature away from direct sunlight, or inside a refrigerator during warm weather.
-
Remove Slime from Fabrics: If slime gets stuck on clothes or carpets, soak the area in white vinegar for 5 minutes, scrub gently with an old toothbrush, and rinse with warm water.
-
Discard Moldy Slime: Inspect slime before play; toss out any batches that show color changes, odd smells, or dryness.
Convenient Alternatives for How to Make Slime at Home
If gathering individual ingredients feels overwhelming or messy, ready-made craft kits offer a stress-free alternative. Kits contain pre-measured components, safe activators, and specialty accessories like glitter and charm beads. For parents looking for complete, hassle-free options, explore options like the Mini Slime Kit to get all required materials delivered directly to your doorstep.
Mini Slime Kit FAQs
What is the easiest way to make slime at home?
The easiest way is to mix 1/2 cup of white PVA glue with 1/2 cup of water, 1/2 teaspoon of baking soda, and 1 tablespoon of contact lens solution. Stir until it forms a soft ball, then knead by hand.
Which glue works best for an easy slime recipe?
PVA-based washable school glue works best. Synthetic clear or white craft glues containing polyvinyl acetate react reliably with household activators to create stretchy slime.
Why is my DIY slime for kids breaking instead of stretching?
Slime breaks when too much activator is added. To restore stretchiness, knead a small amount of warm water or hand lotion into the slime until it softens.
How long does homemade slime last?
When stored inside an airtight container at room temperature, homemade PVA glue slime lasts between two to three weeks before drying out.
How do you get slime out of clothes easily?
Apply white vinegar directly onto the affected fabric, let it sit for 3 to 5 minutes to dissolve the glue polymers, scrub with a brush, and wash with warm soapy water.