10 Easy Science Experiments for Girls to Try at Home: Step-by-Step Guide

Hands-on science experiments for girls are a fun way to study STEM ideas from the comfort of your living room. Many young students feel that traditional science themes are either frightening or too theoretical, and they miss out on the excitement of active inquiry. You can take complicated theories from science and make them entertaining, practical exercises utilizing things around your house. This page contains basic step-by-step assignments that develop critical thinking and problem-solving skills.
Why Try Science Experiments for Girls at Home?
Doing practical science activities at home helps connect textbook theory with real-world application. Encouraging young female learners to participate in early STEM (Science, Technology, Engineering, and Mathematics) activities builds confidence and fosters a lifelong curiosity about how the world works.
Key Benefits of Home-Based Learning
-
Confidence Building: Completing a project independently boosts self-reliance and encourages analytical thinking.
-
Cost-Effective Education: Most experiments use basic household items, making education accessible without expensive equipment.
-
Interactive Engagement: Hands-on tasks keep students engaged longer than passive reading or watching videos.
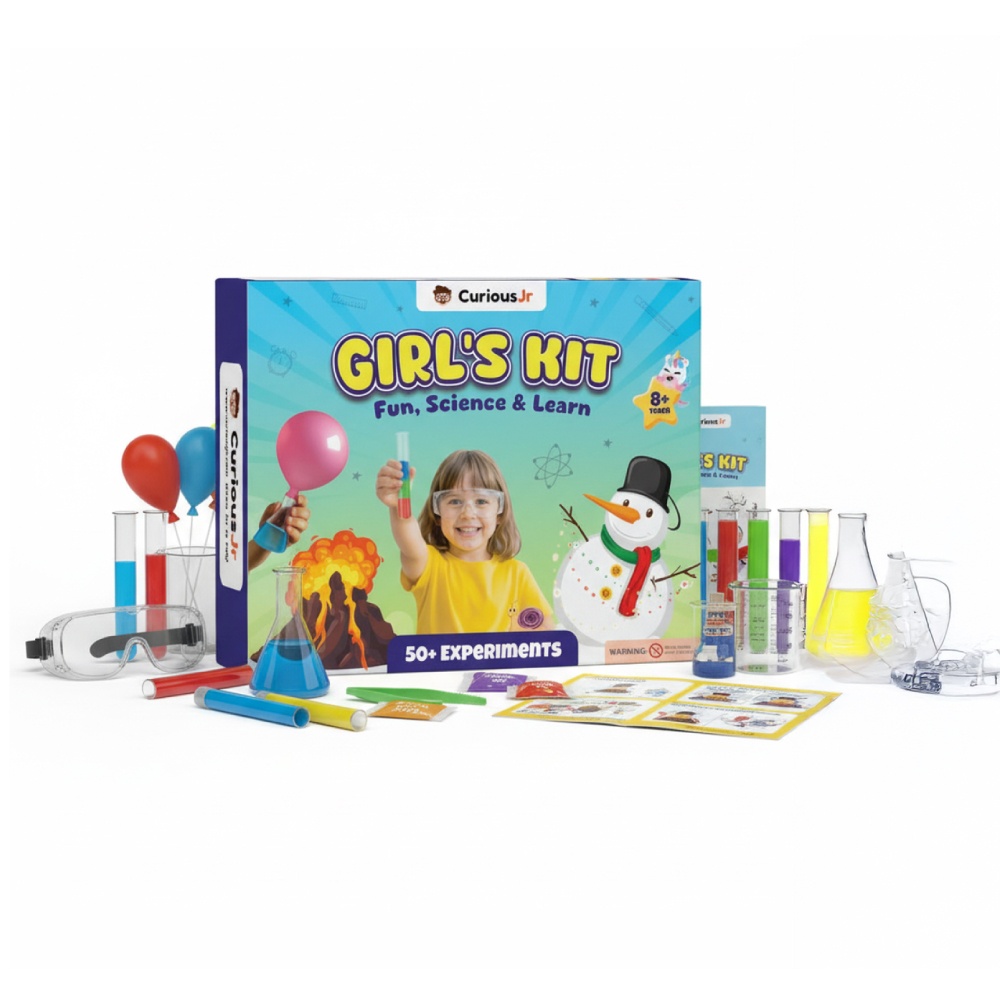
To support this developmental journey, parents and educators often seek structured resources. For instance, exploring age-appropriate educational kits and curated learning tools can complement these practical tasks by sharpening analytical skills alongside hands-on discovery.
Safety Rules for Science Experiments for Girls
Before starting any activity, safety must remain the top priority. Establishing clear rules ensures a fun, risk-free learning environment for everyone involved.
Essential Safety Guidelines
-
Adult Supervision: Always have a parent or guardian present to handle hot liquids, sharp tools, or chemical reactions.
-
Eye Protection: Wear protective glasses or safety goggles when dealing with splashes or volatile mixtures.
-
Clean Workspace: Work on a flat, non-slip surface, preferably covered with old newspapers or a plastic sheet to manage spills.
-
Hand Hygiene: Wash hands thoroughly with soap and water before and after completing every activity.
Top 10 Science Experiments for Girls to Do at Home
Here is a collection of simple, highly educational projects designed to explain foundational principles of chemistry, physics, and biology. Kids Experiment Kits can make these concepts more engaging by providing hands-on activities that encourage children to observe, experiment, and learn through practical exploration..
1. The Baking Soda and Vinegar Eruption
This classic project demonstrates a fast-acting acid-base reaction that produces carbon dioxide gas.
-
Materials Needed: 2 tablespoons of baking soda, 1/2 cup of white vinegar, a plastic bottle, dish soap, red food colouring, and a tray.
-
Step-by-Step Instructions:
-
Place the plastic bottle in the center of the tray to catch any overflow.
-
Add baking soda into the bottle along with a few drops of red food colouring and a drop of dish soap.
-
Pour the white vinegar into the bottle quickly.
-
Watch as the mixture fizzes up and flows out of the top.
-
The Science Behind It: Vinegar (an acid) reacts with baking soda (a base) to form carbon dioxide gas. The soap catches the gas, creating a thick, foaming eruption.
2. The Walking Water Experiment
Explore how liquids travel against gravity using paper towels to demonstrate capillary action.
-
Materials Needed: 6 clear glasses, water, paper towels, and primary food dyes (red, yellow, blue).
-
Step-by-Step Instructions:
-
Line up 6 glasses in a row and fill every alternate glass with water.
-
Add red dye to the first, yellow to the third, and blue to the fifth glass. Leave the intermediate glasses empty.
-
Fold strips of paper towel and place one end in a full glass and the other end in an empty adjacent glass.
-
Leave the setup undisturbed for two hours.
-
The Science Behind It: Water moves up the narrow fibers of the paper towel due to capillary action, driven by attractive forces between the liquid and the towel fibers.
3. Homemade Lava Lamp
Observe density differences and liquid polarity in a colorful display.
-
Materials Needed: Clear plastic bottle, water, vegetable oil, food colouring, and effervescent tablets.
-
Step-by-Step Instructions:
-
Fill the bottle three-quarters full with vegetable oil.
-
Fill the remaining space with water, leaving a small gap at the top.
-
Add 10 drops of food dye (the dye colors only the water).
-
Break an effervescent tablet into small pieces and drop one piece inside.
-
The Science Behind It: Oil stays on top of water because it is less dense and non-polar. When the tablet dissolves in the water layer, it generates carbon dioxide bubbles that carry colored water upward through the oil layer.
4. The Bouncy Egg
Transform a hard, brittle eggshell into a rubbery, flexible sphere.
-
Materials Needed: 1 raw egg, white vinegar, and a tall glass jar.
-
Step-by-Step Instructions:
-
Place the raw egg gently inside the jar.
-
Pour enough white vinegar into the jar to submerge the egg completely.
-
Leave the jar undisturbed for 24 to 48 hours.
-
Remove the egg carefully and rinse away the remaining shell under cold water.
-
The Science Behind It: Eggshells consist primarily of calcium carbonate. Vinegar contains acetic acid, which dissolves the calcium carbonate, leaving behind only the tough inner membrane of the egg.
5. Invisible Ink Messages
Send secret notes using simple household oxidation principles.
-
Materials Needed: Lemon juice, cotton swab, plain white paper, and a light bulb or iron.
-
Step-by-Step Instructions:
-
Squeeze fresh lemon juice into a small bowl.
-
Dip a cotton swab into the juice and write a short message on the paper.
-
Allow the paper to air-dry completely until the writing becomes invisible.
-
Gently heat the paper by holding it near a warm light bulb or passing a warm iron over it with adult supervision.
-
The Science Behind It: Lemon juice contains organic compounds that oxidize and turn brown when exposed to heat, revealing the hidden message.
Check Out: PW Jr. Electric Science Kit
6. Static Electricity Balloon Magic
Discover how invisible charges can move light objects across surfaces.
-
Materials Needed: 1 latex balloon, tissue paper, scissors, and a wool cloth or sweater.
-
Step-by-Step Instructions:
-
Cut small butterfly or star shapes out of lightweight tissue paper.
-
Blow up the balloon and tie the end securely.
-
Rub the balloon vigorously against a wool sweater or your hair for 30 seconds.
-
Hold the balloon slightly above the tissue paper pieces.
-
The Science Behind It: Rubbing the balloon transfers negatively charged electrons to its surface. This static charge attracts the neutral tissue paper, making it jump toward the balloon.
7. Sugar Crystal Growing
Watch supersaturated solutions turn into edible solid crystals over time.
-
Materials Needed: 3 cups of sugar, 1 cup of boiling water, glass jar, cotton string, a pencil, and a paper clip.
-
Step-by-Step Instructions:
-
Dissolve sugar into boiling water gradually until no more sugar dissolves.
-
Tie a string around a pencil and attach a paperclip at the bottom as a weight.
-
Rest the pencil across the top of the jar so the string hangs down into the liquid without touching the sides.
-
Store the jar in a quiet area for 5 to 7 days and observe crystal growth.
-
The Science Behind It: As the hot, supersaturated liquid cools down, the water molecules separate from the sugar, causing pure sugar molecules to attach to the string and form crystals.
8. Making Oobleck Slime
Explore the strange behavior of materials that refuse to behave like normal liquids or solids.
-
Materials Needed: 2 cups of cornstarch, 1 cup of water, and food dye.
-
Step-by-Step Instructions:
-
Place cornstarch into a large mixing bowl.
-
Mix food dye into the water.
-
Slowly pour the water into the cornstarch, mixing with your hands until smooth.
-
Squeeze the mixture into a ball rapidly, then open your hand.
-
The Science Behind It: Oobleck is a non-Newtonian fluid. Applying pressure increases its viscosity, making it feel solid, while releasing pressure allows it to flow freely like a liquid.
9. Rain Cloud in a Glass
Visualize weather patterns and atmospheric saturation in a simple jar.
-
Materials Needed: Clear glass jar, water, shaving foam, and blue food dye.
-
Step-by-Step Instructions:
-
Fill the glass jar three-quarters full with clean water.
-
Spray a layer of shaving foam on top of the water to create a cloud.
-
Mix blue food dye with a little water in a separate cup.
-
Pipette or drip the blue liquid slowly onto the top of the shaving foam cloud.
-
The Science Behind It: As the cloud fills up with liquid, it grows too heavy to hold the weight. The colored water breaks through the cloud layer, falling down just like real rain drops.
10. Solar Oven S'mores
Harvest heat directly from sunlight to create a working mini-oven.
-
Materials Needed: Pizza box, aluminum foil, plastic wrap, black construction paper, tape, and s'mores ingredients (graham crackers, marshmallows, chocolate).
-
Step-by-Step Instructions:
-
Cut a flap into the lid of the pizza box and line the inside surface of the flap with aluminum foil.
-
Cover the opening beneath the flap tightly with plastic wrap to form a window.
-
Glue black construction paper to the inside bottom of the box.
-
Place your s'mores on top of the black paper, close the main lid, angle the foil flap toward direct sunlight, and wait for the chocolate to melt.
-
The Science Behind It: The foil reflects light inside the box, the black paper absorbs heat energy, and the plastic wrap seals the air in, creating a miniature greenhouse effect.
Tips to Make Science Experiments for Girls Exciting
To get the best possible outcome from your home sessions, keep these simple teaching strategies in mind. Using Kids Activity Kits can make learning more interactive and engaging by providing structured, hands-on activities that encourage creativity, curiosity, and skill development.
-
Maintain a Science Journal: Encourage students to record initial predictions, draw diagrams, and write down results after every single step.
-
Embrace Mistakes: When an experiment fails, treat it as a natural step in the discovery process. Ask open-ended questions like, "What do you think caused that difference?"
-
Connect with Real Life: Relate every project to real-world technology or everyday natural occurrences around your home.
Read More: 15 New Science Project Ideas
Science Experiments FAQs
What are the safest science experiments for girls to perform at home?
Projects using basic food-grade items, such as the Walking Water experiment, the Oobleck activity, or static electricity demonstrations, carry zero chemical risks and are ideal for all ages.
How do easy science experiments help young students develop STEM skills?
These tasks encourage active questioning, structured observation, and systematic trial-and-error reasoning. Regular participation in STEM activities for girls helps build these essential habits, creating a strong foundation for advanced maths, engineering, and science topics later in school.
Can these science experiments for girls be conducted with standard kitchen supplies?
Yes. Almost every project listed in this guide relies entirely on accessible pantry products like baking soda, table vinegar, cornstarch, food dye, and recycled plastic containers.
What age group is best suited for these home activities?
These activities are easily adaptable for children aged 6 to 14. Younger kids will enjoy the visual transformations, while older students can study the underlying chemical and physical principles.
How can parents support learning during science experiments at home?
Parents can offer guidance by asking guiding questions rather than providing instant answers. Allowing children to measure ingredients, run tests, and write down observations builds confidence and independent problem-solving abilities.