10 Light and Shadow Experiments for Kids: Step-by-Step Guide
Reading about ray diagrams in textbooks rarely sparks genuine excitement, leaving many children disengaged from fundamental scientific principles. Hands-on light and shadow experiments kits bridge this gap by transforming theoretical optics into tangible, real-world discovery.
When children manipulate light sources, observe changing shadows, and construct optical devices, abstract ideas turn into memorable experiences. Interactive exploration lays a solid foundation for future scientific learning while encouraging creative thinking.
This step-by-step guide walks you through ten engaging activities designed to make physics fun, accessible, and simple for young learners.
What Are Light and Shadow Experiments
These activities are practical science investigations that demonstrate how light travels, bends, reflects, and interacts with different materials. Through light and shadow experiments, kids learn that light travels in straight lines until it encounters an object. When an opaque object blocks the path of light rays, a dark area forms behind it, creating a shadow.
Engaging in light experiments for kids offers numerous educational advantages:
-
Interactive Learning: Fosters direct engagement with abstract concepts rather than passive reading.
-
Real-World Applications: Demonstrates how fundamental optics principles apply to everyday phenomena around us.
-
Foundation for the Future: Builds critical thinking and problem-solving skills necessary for technology-driven fields.
-
Creative Stimulation: Combines imaginative storytelling with scientific methodology.
-
Hands-On Exploration: Transforms routine study into an exciting journey of discovery.
How to Perform Light and Shadow Experiments Step by Step
To get the most out of every investigation, follow a structured process that mimics real scientific methods.
-
Gather Materials: Assemble basic tools such as cutouts, transparent sheets, mirrors, cardboard, and light sources before starting.
-
Set Up the Dark Space: Choose a dimly lit or dark room so that shadow outlines and light beams remain sharp and visible.
-
Formulate a Hypothesis: Ask children what they expect to happen when the light source moves or when an object intervenes.
-
Conduct the Test: Direct the light at the object or optical component and adjust distances gradually.
-
Observe and Record: Discuss how the shadow size changes, how light bounces, or how colors merge.
-
Analyze Results: Relate the practical results back to core concepts like opacity, reflection, and refraction.
When to Try Light and Shadow Experiments
You can introduce shadow experiments kits for kids across various learning environments and everyday scenarios:
|
Setting / Scenario |
Primary Objective |
Suggested Activity Focus |
|
Classroom Science Lessons |
Reinforce curriculum topics on light and energy. |
Reflection with mirror sheets, ray tracing. |
|
Weekend Home Projects |
Encourage family engagement and creative play. |
Shadow puppet theatre, sundials. |
|
Sunny Outdoor Days |
Observe natural light dynamics across time. |
Sundial tracking, outdoor shadow length checks. |
|
Rainy Indoor Afternoons |
Provide productive, screen-free educational entertainment. |
Kaleidoscope construction, optical fibre lamps. |
10 Light and Shadow Experiments to Try with Kids
Here is a curated list of ten practical light and shadow activities that bring optics to life using accessible components like cutouts, lenses, and mirrors.
1. The Classic Shadow Puppet Theatre
Using puppet cutouts mounted on sticks or thread, kids explore how distance alters shadow dimensions.
-
Steps: Position a flashlight facing a blank wall or screen. Place puppet cutouts between the light and screen. Move the puppet closer to the light source to observe the shadow grow larger, then move it closer to the screen to see it shrink and sharpen.
-
Key Concept: Light travels in straight lines; proximity to the source dictates shadow magnification.
2. Hologram Screen Projection
A simple cutout pyramid setup allows students to construct a working projection screen.
-
Steps: Assemble clear hologram box pieces and position the screen over a tablet or smartphone playing a split-screen video. Look through the angled sides to see a 3D optical illusion floating in space.
-
Key Concept: Reflection and transparent media can blend images into 3D optical illusions.
3. DIY Pinhole Camera
Constructing a pinhole box demonstrates how light beams cross to project inverted images.
-
Steps: Take pinhole camera cutouts, craft a light-tight box, and pierce a tiny hole on one end. Point the pinhole toward a bright scene or light bulb while looking at the translucent screen on the opposite end.
-
Key Concept: Light rays travelling in straight lines cross through a tiny aperture, creating an upside-down image.
4. Color Mixing with Cellophane Frames
Exploring transparency and color filtration through colored cellophane sheets.
-
Steps: Insert red, blue, and green cellophane sheets into cardboard frames. Shine a flashlight through individual sheets, then overlap two different frames (e.g., yellow and blue) to project new primary and secondary color combinations onto a white surface.
-
Key Concept: Color absorption and selective transmission.
5. Fiber Optic Light Transmission
Building a fiber lamp demonstrates how light travels along flexible strands via total internal reflection.
-
Steps: Attach optical fiber bundles to a LED fiber lamp base. Switch on the base in a dark room and observe how light emerges brightly at the tips of the fibers, even when bent.
-
Key Concept: Total internal reflection channels light through transparent fibers without escaping through the sides.
6. DIY Kaleidoscope
Mirror sheets arranged in a triangular prism create infinite repeating geometric patterns.
-
Steps: Join three mirror sheets into a triangular tube using tape. Insert colorful translucent beads or cutouts at one end and look through the opposite opening while rotating the assembly.
-
Key Concept: Multiple reflections between angled mirrors produce symmetrical optical patterns.
7. Sundial Timekeeping Cutouts
Constructing a paper sundial illustrates how the position of a light source affects shadow length and angle.
-
Steps: Assemble the sundial cutouts and place the base outdoors in direct sunlight or under a fixed desk lamp. Mark the position of the shadow cast by the gnomon every hour.
-
Key Concept: The rotation of the light source alters shadow angles, providing a historical method for measuring time.
8. Constellation Projection Box
Mapping star arrangements using constellation cards and focused beams.
-
Steps: Select constellation cutout cards with pre-punched holes. Position a light behind the card to project star patterns onto the ceiling of a darkened room.
-
Key Concept: Point sources of light passing through small apertures cast sharp, defined points of light.
9. Mirror Reflection and Ray Bending
Using flexible mirror sheets to redirect beams across fixed targets.
-
Steps: Place target cards on a table. Aim a thin flashlight beam away from the target, then use mirror sheets to bounce the beam around obstacles until it hits the bullseye.
-
Key Concept: The law of reflection—the angle at which light strikes a flat mirror equals the angle at which it bounces off.
10. Rainbow Dispersion Spectrum
Projecting spectral colors using rainbow images and light refraction.
-
Steps: Direct a bright beam through a refraction setup featuring a rainbow image card or prism. Observe white light separate into its constituent wavelengths across a screen.
-
Key Concept: White light is a mixture of different colors that bend at slightly different angles when passing through refractive media.
Tips to Make Light and Shadow Experiments Fun and Easy
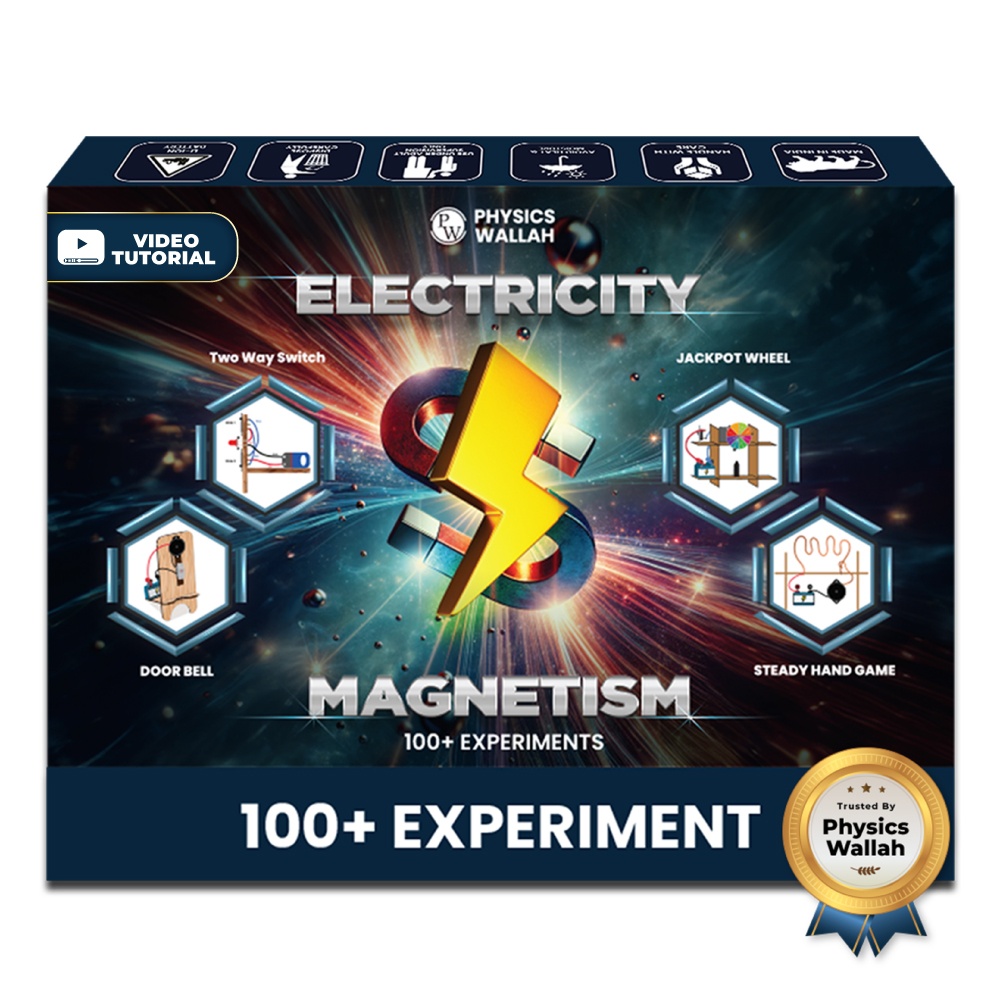
Maximizing student engagement during light and shadow experiments requires thoughtful preparation and open-ended exploration. An Electricity & Magnetism Science Project Kit can also encourage hands-on learning by helping students explore related scientific concepts through practical activities..
-
Prepare Pre-Cut Components: Using pre-made cutouts (like candy canes, umbrellas, or story figures) saves time and keeps younger kids focused on discovery.
-
Control Room Lighting: Ensure you can dim the workspace easily; high ambient light reduces shadow contrast and projection clarity.
-
Encourage Hypothesis Testing: Always ask kids what they expect will happen before changing a variable, such as moving a mirror or swapping a colored filter.
-
Incorporate Storytelling: Combine story cards, puppet cutouts, and themed scenarios to turn physics into an imaginative adventure.
-
Document Observations: Encourage learners to draw or write down their findings in a dedicated science notebook.
Common Mistakes to Avoid During Light and Shadow Experiments
Even simple investigations can hit snags if basic physical setup factors are overlooked. Using activity kits can provide the right materials and help children follow experiments more smoothly. Avoiding these frequent mistakes ensures safe and effective learning experiences:
-
Using Diffuse Ambient Light: Conducting tests in fully lit rooms blurs shadow edges and dims optical projections.
-
Incorrect Light Source Distance: Placing flashlights too far from cutouts makes shadows small and faint, while placing them too close can cause extreme distortion.
-
Smudging Optical Surfaces: Handling mirror sheets or clear projection screens with dirty hands leaves oils that distort reflection clarity.
-
Rushing the Exploration: Moving too quickly between steps prevents children from processing why a shadow changed size or why light reflected at a specific angle.
-
Overcomplicating Explanation: Stick to core concepts like absorption, reflection, and refraction rather than overwhelming kids with complex mathematical formulas.
Read More: 21 Educational STEM Projects
Light and Shadow Experiments FAQs
What basic materials are needed for light and shadow experiments?
Simple materials include flashlights, mirror sheets, cardboard cutouts, cellophane sheets, and paper screens.
How do light experiments for kids help in learning optics?
They turn abstract concepts like reflection and refraction into visual, physical experiences that build strong foundational knowledge.
What is the main cause of shadow formation in shadow experiments for kids?
Shadows form when an opaque object blocks light rays, creating a dark area behind the object.