10 Glow-in-the-Dark Science Experiments for Kids and Students
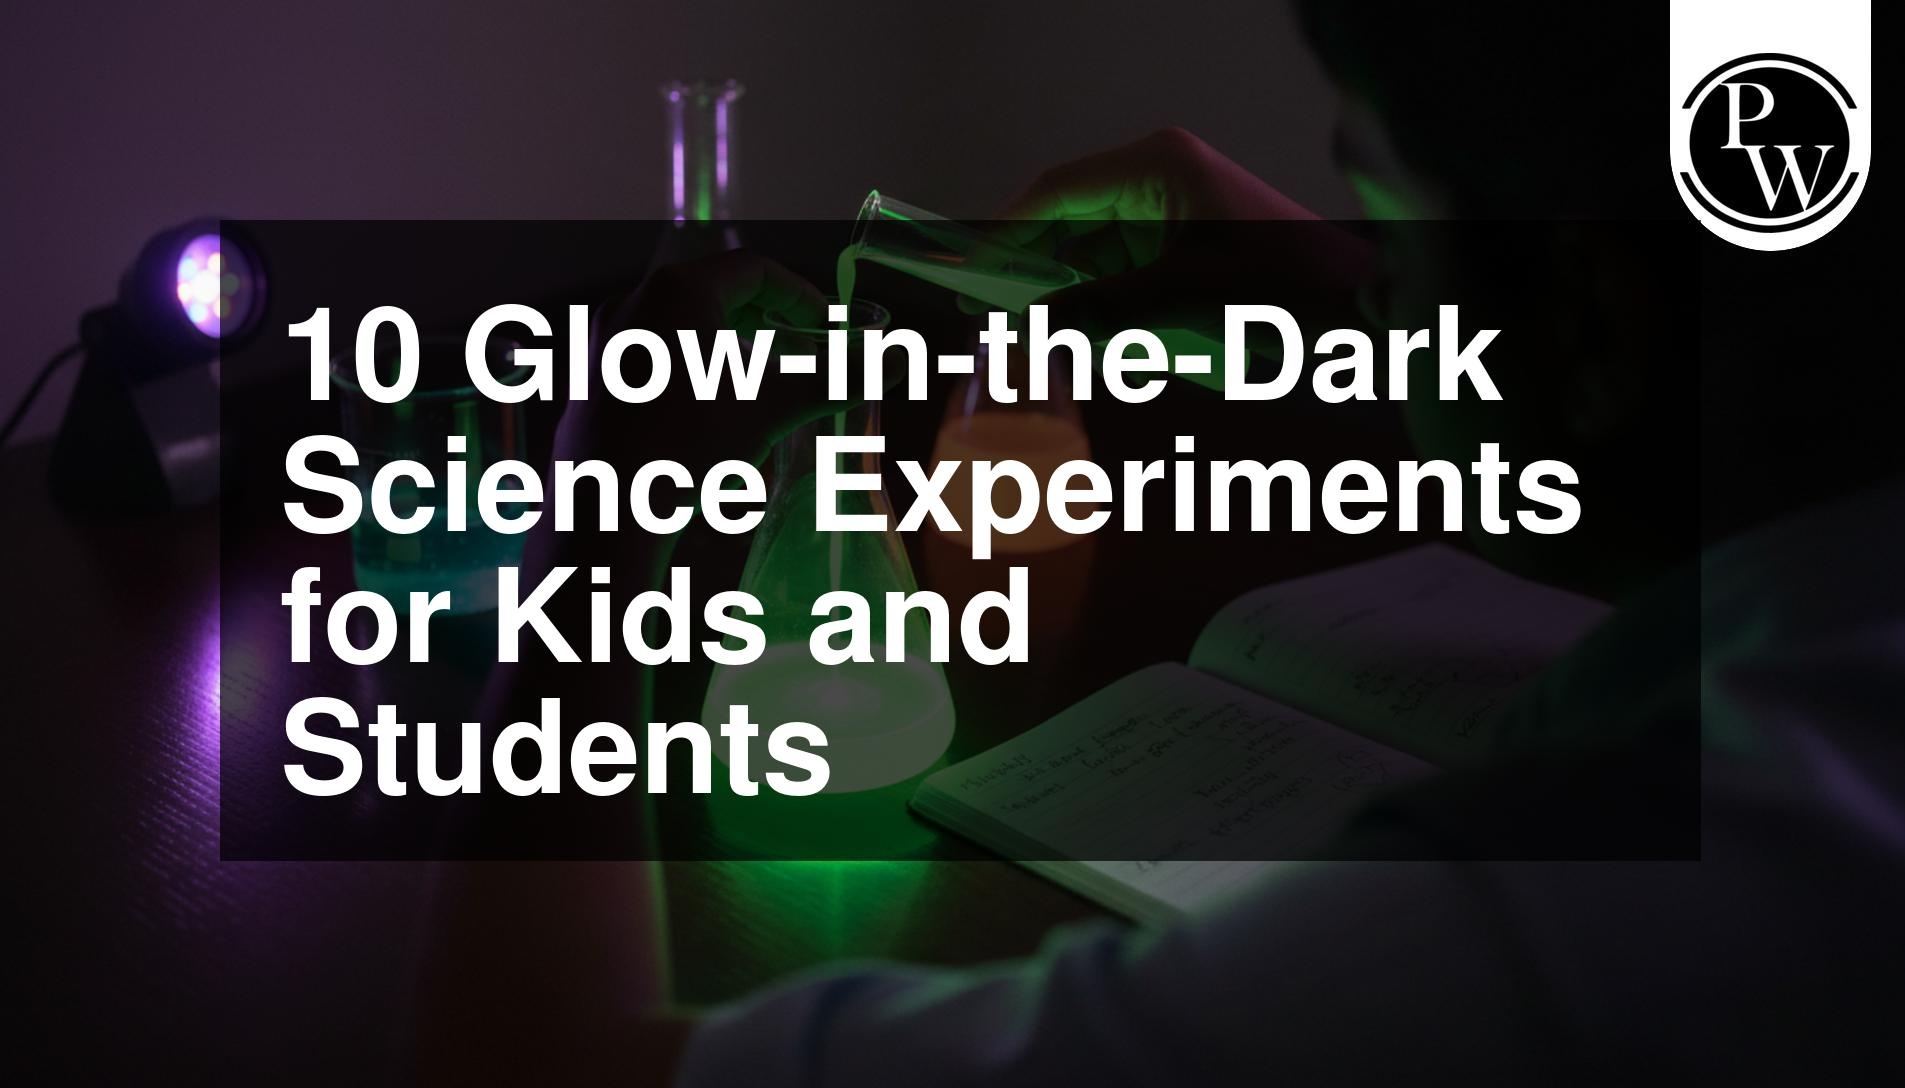
Many students find topics related to light and energy difficult because they cannot easily see what is happening. Glow in the dark science experiments can make these ideas easier to understand. These activities encourage students to ask questions, make predictions, observe results, and record what they find.
The experiments below use a mix of household materials and simple science supplies. Some activities require a UV blacklight, while others use chemical reactions or materials that glow after exposure to light. Younger children should always complete experiments involving heat, glass, UV lights, tools, or chemicals with adult supervision.
Why Glow in the Dark Science Experiments Matter
Hands-on activities can make science lessons more engaging and easier to remember. When students see a material glow or observe a reaction change, they can connect the result with the scientific idea behind it. Glow in the dark science experiments also encourage active learning, improve understanding of difficult concepts, and help students develop problem-solving and observation skills. Fun experiments can further increase interest in science, technology, engineering, and mathematics.
Features of Glow in the Dark Science Experiments Kit for Kids
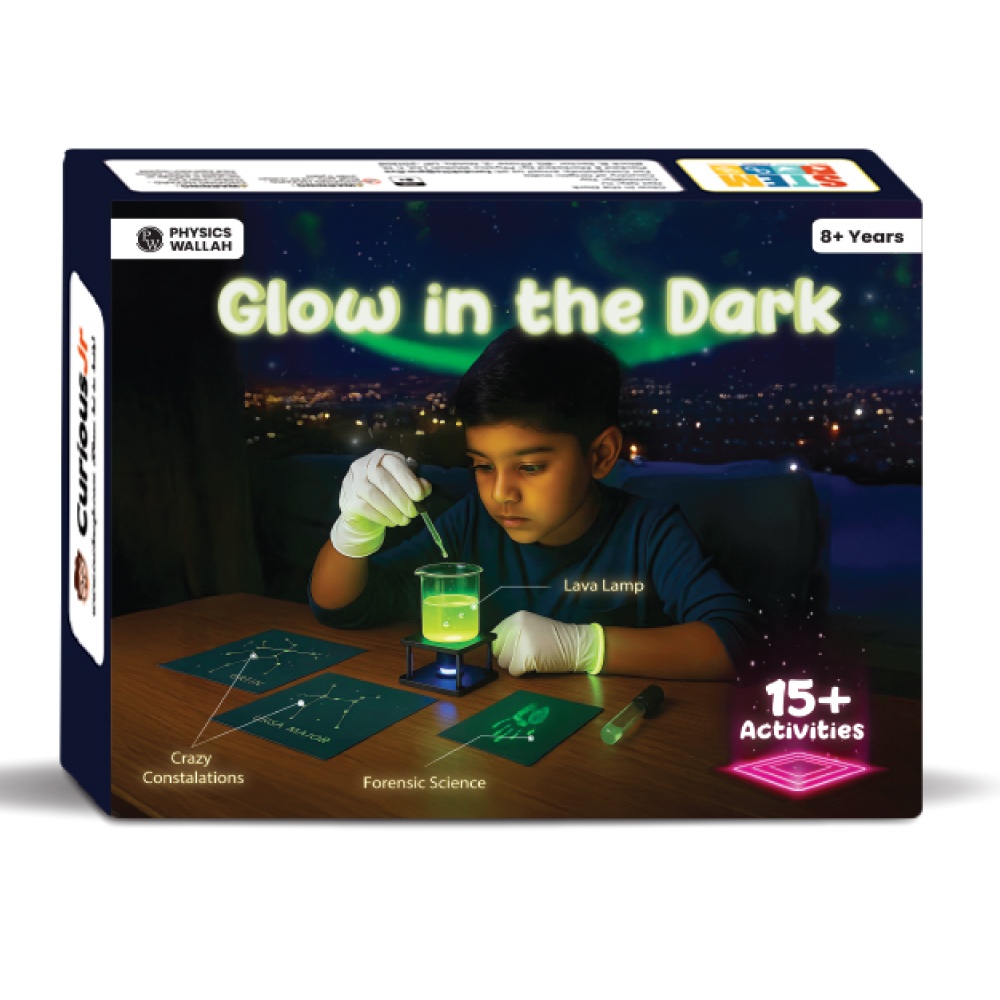
Turn simple science ideas into exciting activities that children can see, touch, and explore. Glow In the Dark Science Kit for Kids is designed to make learning more active while helping kids develop useful thinking skills through play.
-
15+ Exciting Glow Activities: Explore more than 15 activities featuring glowing slime, bright crystals, glow reactions, and other fun experiments. Each activity gives children a chance to see interesting science effects in action.
-
Learn by Doing: Instead of only reading about science, children can perform experiments themselves. Hands-on activities help introduce STEM ideas while building curiosity, creativity, and logical thinking.
-
Kid-Friendly Learning Guide: The illustrated manual breaks each activity into simple steps. Easy instructions allow children to follow along and understand what happens during the experiment.
-
Fun Alternative to Screen Time: The kit gives children an activity they can enjoy at home while learning something new. It can also be a fun choice for birthdays, Christmas, holidays, or return gifts.
-
Designed With Safety in Mind: The experiments use non-toxic, tested materials intended for children. The kit can be useful for home activities, school projects, science fairs, and supervised learning sessions.
What are the Top 10 Glow in the Dark Science Experiments
Discover the top 10 glow-in-the-dark science experiments kits that make learning fun and engaging.
Explore simple, hands-on activities that demonstrate fascinating concepts like fluorescence, chemical reactions, and light.
1. Glowing Lava Lamp
Materials: Water, vegetable oil, salt, fluorescent highlighter ink, a clear container, and a UV blacklight.
How to Do It: Add water containing fluorescent highlighter ink to a clear container and carefully add a layer of vegetable oil. The oil and water will remain separate because they have different properties. Add a small amount of salt and observe the movement as the salt passes through the oil and mixes with the water. Shine a UV light on the container to see the fluorescent liquid glow.
Science: This activity demonstrates density, the different properties of oil and water, and fluorescence.
2. Secret Invisible Ink Messages
Materials: Petroleum jelly, white paper, and a UV blacklight.
How to Do It: Use a small amount of petroleum jelly to write a message on white paper. Allow it to settle, turn off the main lights, and shine a UV light over the paper. The writing may become visible because some petroleum-based materials can fluoresce under UV light.
Science: The activity introduces students to fluorescence and shows how some materials react differently to ultraviolet light.
3. Glowing Tonic Water
Materials: Tonic water, a clear glass, and a UV blacklight.
How to Do It: Pour tonic water into a clear glass. Place it in a darker room and shine a UV light toward the liquid. Observe the blue glow.
Science: Tonic water may contain quinine, a fluorescent compound that absorbs ultraviolet light and releases visible blue light.
4. Glowing Oobleck
Materials: Cornstarch, water, fluorescent colouring or a suitable glow material, a bowl, and a UV light.
How to Do It: Mix cornstarch and water until a thick mixture forms. Add a suitable fluorescent colouring if appropriate. Under a UV light, observe the mixture while slowly touching it and then applying quick pressure.
Science: Oobleck is a non-Newtonian suspension. Its behaviour changes when different amounts of force are applied. The glowing part of the activity adds an opportunity to observe fluorescence at the same time.
5. Glowing Chlorophyll
Materials: Fresh green leaves, rubbing alcohol, a small container, a coffee filter, and a UV light.
How to Do It: With adult supervision, crush green leaves and place them in a small amount of rubbing alcohol. Filter the mixture using a coffee filter and observe the green extract under a UV light.
Science: Chlorophyll can show red fluorescence under suitable UV or blue-light conditions. This activity helps students explore plant pigments and the way plants interact with light.
Because rubbing alcohol is flammable, keep it away from flames, heat sources, and sparks.
6. Glow-in-the-Dark Crystal Experiment
Materials: Alum powder, hot water, fluorescent highlighter solution, a clear container, and a UV light.
How to Do It: Dissolve alum in hot water with adult supervision. Add a suitable amount of fluorescent highlighter solution and allow the mixture to cool without disturbing it. Over time, crystals may form. Once the crystals have developed, place them under a UV light and observe their appearance.
Science: This activity teaches students about solubility, saturated solutions, cooling, and crystal formation. The fluorescent material adds a light-based observation to the experiment.
7. Glowing Polymer Worms
Materials: Sodium alginate solution, calcium chloride solution, a suitable fluorescent or glow material, water, and containers.
How to Do It: Prepare the sodium alginate and calcium chloride solutions according to the activity instructions. Add the suitable glowing material to the alginate mixture. Carefully place or squeeze the mixture into the calcium chloride solution to form soft, worm-like strands.
Science: Calcium ions interact with sodium alginate and create a gel-like structure. This demonstrates a basic form of polymer cross-linking and gel formation.
8. Neon Fluorescent Paint Art
Materials: Water, cornstarch, fluorescent highlighter ink, paper, a paintbrush, and a UV blacklight.
How to Do It: Mix water and cornstarch to create a simple paint-like mixture. Add fluorescent highlighter ink and use a brush to create designs on paper. After the artwork dries, place it under a UV light and observe the glowing colours.
Science: The fluorescent dye absorbs UV energy and releases some of it as visible light. This activity combines art with a simple lesson about light and fluorescence.
9. Temperature-Tested Glow Sticks
Materials: Three identical glow sticks, a container of ice water, room-temperature water, and warm water.
How to Do It: Activate the glow sticks according to their instructions. Place one in ice water, keep one at room temperature, and place one in warm water. Compare their brightness over the same period.
Science: Temperature affects the rate of the chemical reaction inside a glow stick. A warmer glow stick may appear brighter for a shorter time, while a colder one may glow more slowly and for longer.
Do not cut, open, or directly handle the liquid inside a glow stick.
10. Kitchen Spice Fluorescence Search
Kids Activity Kits: Small amounts of turmeric, cumin, paprika, a white plate, and a UV blacklight.
How to Do It: Place small amounts of different spices on a white plate. Darken the room and shine a UV light over them. Compare the appearance of each spice.
Science: Different natural compounds and pigments can interact with UV light in different ways. Some spices may show fluorescence while others may show little or no visible effect. The activity teaches students that different materials respond differently to the same type of light.
Safe Tips for Glow in the Dark Science Experiments Activities at Home
Good preparation can make these activities safer and easier to complete. Choose a clean workspace with enough room for all the materials.
-
Use a dark room when the activity requires a UV light.
-
Never look directly into a UV light.
-
Keep hot water, glass containers, and tools away from young children.
-
Follow the instructions on all household products.
-
Do not mix unknown cleaning products or chemicals.
-
Keep materials away from food and drinks.
-
Wash hands after completing the activities.
-
Dispose of materials according to product instructions.
Adult supervision is especially important for experiments involving heat, rubbing alcohol, glass, UV lights, or chemical solutions.
Chemistry and Physics in Action With Glow in the Dark Science Experiments
These activities combine ideas from both physics and chemistry. Fluorescent experiments show how materials absorb and release light energy. Temperature experiments demonstrate how heat can affect the speed of a chemical reaction.
Students can also compare different materials and record their observations. For example, they can compare the brightness of different fluorescent liquids under the same UV light or observe how temperature changes affect glow sticks.
This makes glow-in-the-dark science experiments useful for teaching students how to form a simple hypothesis, test an idea, collect observations, and explain the result.
Read More: 21 Educational STEM Projects
Science Experiments Kit for Kids FAQs
What age group is best for glow-in-the-dark science experiments?
Many simple activities can be adapted for children around 6 to 12 years old. However, the right activity depends on the materials used. Younger children should always have adult supervision when an experiment involves UV lights, heat, glass, tools, or chemicals.
Are the materials used in glow-in-the-dark experiments safe?
Safety depends on the specific materials and how they are used. Common household materials may be suitable for simple demonstrations, but students should always follow product labels and experiment instructions. Materials should never be tasted or mixed randomly.
How do science experiments for kids improve STEM skills?
Hands-on activities encourage children to observe, make predictions, test ideas, solve problems, and record results. These skills support scientific thinking and can help build interest in wider STEM subjects.
What scientific principles are taught through glow-in-the-dark activities?
Students can learn about fluorescence, luminescence, light absorption, energy transfer, chemical reactions, temperature, density, solubility, polymers, and crystal formation. The exact concepts depend on the experiment.
Can these glowing experiments be used for school science fairs?
Yes. Glow-based activities can work well as school science projects when students focus on a clear question, explain the scientific principle, record observations, and present their results. Simple comparisons, such as testing how temperature affects a glow stick, can also make the project more investigation-based.