How Do Light, Shadows and Reflection Work? Easy STEM Experiments for Kids
When young learners encounter ideas like ray paths, opaque barriers, or light redirection, flat textbook diagrams can leave them feeling confused. Light and shadow experiments for kids solve this exact challenge by turning silent scientific theories into physical play.
By manipulating dedicated equipment, such as mirrors, cutouts, double-sided tape, and specialized lenses, children observe scientific rules directly in real time. Interactive tools build curiosity, foster critical thinking, and make foundational physics accessible to young minds.
Using practical setups allows children to see physics in action rather than simply memorising descriptions.
Importance of Light and Shadow Experiments for Kids
Interactive activities bridge the gap between classroom theory and real-world observation. Engaging directly with hands-on light and shadow experiments for kids builds fundamental cognitive skills while making foundational science memorable.
-
Fosters Interactive Learning: Children move past standard memorisation by manipulating tools directly. Testing ideas in real time makes abstract physics easy to understand.
-
Connects Real-World Applications: Science comes alive when learners see practical everyday effects. Seeing how beams interact with clear or solid objects links classroom lessons directly to daily surroundings.
-
Builds a Foundation for the Future: Early exposure to structured physical testing develops essential problem-solving abilities, critical thinking, and technical logic needed in today's technology-driven world.
-
Sparks Creative Stimulation: Combining scientific logic with creative play allows children to test ideas, design new shadow cutouts, and explore original patterns safely.
-
Encourages Hands-On Exploration: Direct manipulation of materials turns passive listening into active discovery. Kids retain concepts better when they control the setup themselves.
|
Key Feature |
Learning Benefit |
|
Direct Manipulation |
Converts abstract theories into tangible physical results. |
|
Practical Testing |
Shows clear connections between science and daily life. |
|
Guided Problem-Solving |
Develops analytical reasoning through guided observation. |
How Do Light and Shadow Experiments for Kids Explain Reflection
Understanding reflection experiments kits for kids starts with seeing how rays interact with smooth, polished surfaces. Bouncing rays off dedicated surfaces shows learners exactly how direction changes upon contact.
-
Redirecting Optical Beams: Aligning a light source towards a shiny surface reveals how straight beams bounce off at predictable angles.
-
Creating Repeated Patterns: Placing multiple mirrors together forms rich optical designs, clearly explaining how multi-angle bounces function.
-
Revealing Image Inversion: Observing reflected rays helps children understand how periscopes and mirrors alter visual orientation.
When an opaque object blocks straight-line rays, a dark area forms behind it, showing how shadows work in real time.
How to Perform Light and Shadow Experiments for Kids Step by Step
Conducting interactive light experiments for kids is straightforward when following structured steps. Below are four complete practical activities using simple components.
Activity 1: The Pinhole Camera Box Demonstration
This activity demonstrates how straight beams travel through small openings to create inverted projections.
-
Assemble the Box Frame: Gather the pinhole camera box cutouts and double-sided tape. Fold the card pieces along the pre-scored lines to form a dark internal chamber.
-
Attach the Screen: Secure the translucent screen panel to the inner viewing end of the box assembly using double-sided tape.
-
Position the Pinhole Aperture: Align the front aperture piece opposite your viewing screen.
-
Observe the Projection: Point the pinhole end towards a brightly illuminated object in a dimmed room. Look at the back screen to observe the upside-down image formed by straight-line rays.
Activity 2: Shadow Puppet Theater Exploration
This step-by-step activity shows how solid shapes block straight rays to cast distinct dark outlines.
-
Prepare the Cutouts: Select puppet cutouts (such as character or dragon shapes) and thread lines. Secure holding sticks or threads to the cutout pieces.
-
Set Up the Projection Area: Position a flat white screen panel or plain wall surface in front of your workstation.
-
Align the Source: Place a bright beam source behind the puppet cutout, aiming straight at the screen.
-
Test Distance Variations: Move the cutout closer to the light beam source to make the shadow larger. Shift it nearer to the screen to make the outline smaller and sharper.
Activity 3: The Kaleidoscope Reflection Experiment
This multi-mirror project demonstrates how repeated reflection creates symmetric visual patterns.
-
Gather Mirror Strips: Take the mirror sheets, kaleidoscope cutouts, and double-sided tape.
-
Form the Triangular Prism: Peel the protective backing off the mirror sheets. Join three mirror strips together facing inward to create a triangular tube using tape.
-
Insert the Pattern Tube: Slide the taped mirror prism into the decorative kaleidoscope outer cardboard sleeve.
-
Examine the Reflections: Look through one end while pointing the opposite end toward colourful cutouts or ambient room lighting. Rotate the tube slowly to observe shifting symmetric reflections.
Activity 4: Sundial Time Tracking Setup
This tracking activity explains how changing beam angles alter shadow positions throughout the day.
-
Mount the Sundial Base: Lay out the printed sundial cutout card on a flat surface.
-
Attach the Shadow Pointer: Fix the central triangular pointer (gnomon) upright onto the designated base mark.
-
Position under Sunlight or Lamp: Place the base under direct sunlight or a movable desk lamp.
-
Mark the Hours: Record where the gnomon's shadow falls across the dial markers as the light source moves, showing how time tracking relies on shifting ray angles.
When to Try Light and Shadow Experiments for Kids
Introducing physical science activities kits at the right moments helps solidify learning outcomes.
-
During School Science Projects: Hands-on kits provide structured, practical materials for science fairs or home assignments.
-
On Rainy Days Indoors: Dim indoor settings create optimal conditions for testing pinhole boxes, shadow puppets, and reflections.
-
During Weekend Family Learning: Parents seeking educational tools can use structured activities to combine quality family time with active learning.
-
When Introducing Optics Units: Using interactive materials right before textbook reading provides visual context that makes formal definitions easier to grasp.
Tips to Make Light and Shadow Experiments for Kids Easy and Fun
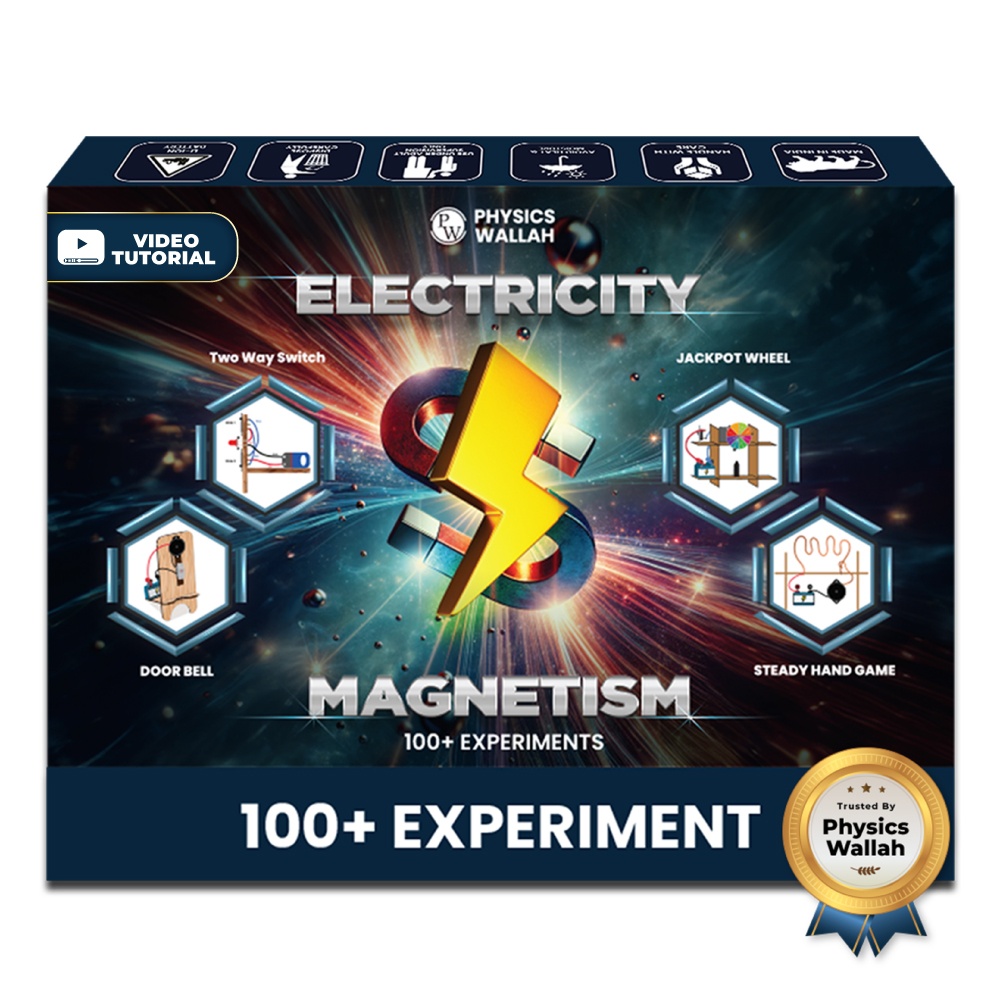
Simple practical adjustments keep kids engaged and ensure smooth setup during light and shadow experiments for kids. An Electricity & Magnetism Science Project Kit can also support hands-on exploration and help children develop practical science skills through engaging experiments.
-
Use Darkened Rooms for High Contrast: Dimming background room lights sharpens shadow edges and brightens screen projections.
-
Organise Components Before Starting: Group mirror strips, cutouts, double-sided tape, and lenses before beginning each activity.
-
Combine Storytelling with Physics: Use character cutouts and story cards alongside shadow setups to blend creative drama with science lessons.
-
Encourage Open Exploration: Let children alter distance, angles, and object materials freely to discover outcomes on their own.
-
Keep Experiment Sessions Short: Focus on one setup at a time to maintain high curiosity without overwhelming young minds.
Safety Measures to Follow During Light and Shadow Experiments for Kids
Safety ensures an enjoyable learning environment when testing physical equipment. Follow these simple practices during every session:
-
Handle Mirror Strips Carefully: Check that mirror sheets and acrylic panels have smooth, safe edges before handing them to younger children.
-
Avoid Looking Directly at Bright Light Sources: Instruct learners never to look straight into intense lamp filaments or concentrated laser pointers.
-
Supervise Small Component Use: Keep foam bases, small screws, double-sided tape scraps, and threads organised so small parts are not misplaced.
-
Maintain Clear Worksheets: Ensure workstations are dry and clear of obstacles when working with lamps and optical apparatuses.
Read More: Electricity & Magnetism Science Project Ideas for Students
Light and Shadow Experiments for Kids FAQs
What are light and shadow experiments for kids?
They are hands-on activities using items like mirrors, cutouts, and lenses to show how light rays travel, reflect, and form shadows.
How do shadow experiments explain opaque materials?
They show that opaque objects block light completely, creating dark shadows on screens placed behind them.
Can reflection activities be done without glass?
Yes, acrylic mirror sheets and shiny metallic foils bounce rays safely without the risk of broken glass.
Why is a darkened room better for shadow activities?
Dimming room lights increases contrast, making shadow outlines and pinhole images clearer.
What age group benefits most from optical STEM kits?
Children exploring basic primary science benefit most, as physical manipulation makes abstract optics simple.