How to Build Your First Robot: A Beginner’s Guide for Kids
Many young learners want to dive into technology and engineering, yet they struggle to find a clear starting point that avoids overwhelming jargon. You might wonder how simple straws, connectors, and mechanical parts can transform into an active machine.
Starting with a proper robot kit for kids changes everything by turning complex engineering principles into an engaging, screen-free playtime adventure.
Let us explore how you can build a moving mechanical model today and develop essential problem-solving skills along the way.
What Is a Robot Kit for Kids
A structured robot kit for kids provides all the physical pieces, components, and instructions needed to assemble working mechanical models from scratch. Instead of buying separate motors, wires, and structural frames individually, a complete package bundles everything together. These educational bundles introduce children aged eight to fourteen to real-world science, technology, engineering, and mathematics concepts through playful experimentation.
-
Pre-selected components eliminate the guesswork of matching compatible parts together.
-
Structured guidance features clear manuals that explain how mechanical parts interact.
-
Skill development encourages logical thinking, spatial awareness, and problem-solving abilities.
-
Every activity is carefully crafted to develop creativity, critical thinking, and hands-on learning.
-
Perfect for school projects, science fairs, and independent hobby activities.
What Parts Do You Need in a Robot Kit for Kids
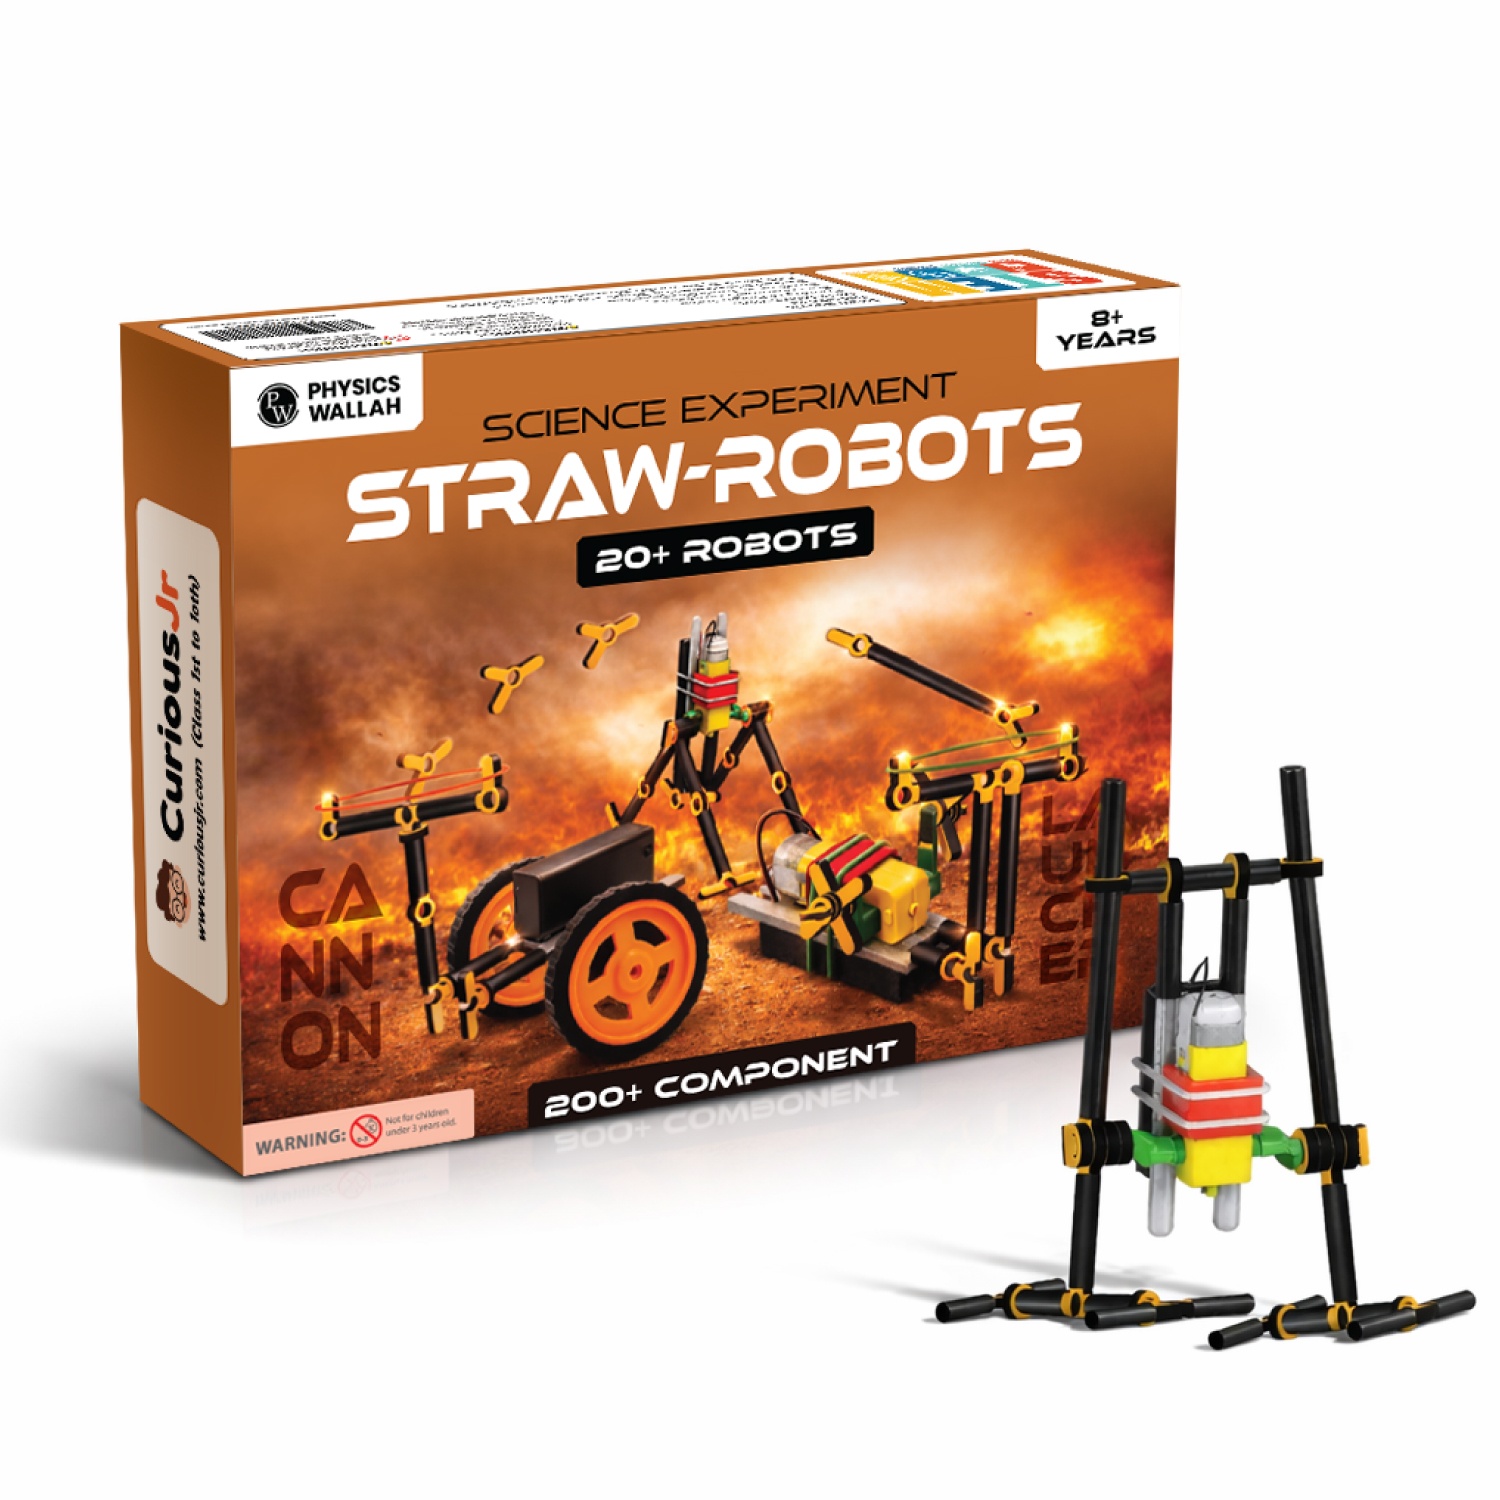
Assembling your initial project requires a balanced collection of structural elements and motion-enabling pieces. Kids Activity Kits can provide a variety of components for hands-on building and creative projects, while a versatile robot kit for kids typically includes multiple components designed to snap, connect, and lock into various configurations.
-
Connectors and joints act as flexible pieces that allow rigid structures to pivot, turn, and bend smoothly.
-
Structural straws serve as lightweight, durable tubes that form the main skeleton and chassis for your builds.
-
Mechanical wheels and gears transfer motion and allow your creations to roll across flat surfaces with minimal resistance.
-
Instruction manuals provide step-by-step guidance that allows children to build independently without frustration.
-
High-quality materials ensure multiple builds and encourage imaginative creation over long periods.
How to Choose a Robot Kit for Kids for Your First Project
Selecting the right package depends heavily on your current skill level, age group, and specific engineering interests. Look for options that emphasize hands-on learning rather than complex computer programming right away, especially if you are entirely new to the field.
A great kit should offer multiple design variations so you do not get bored after finishing just one build.
-
Check the age recommendation to ensure the difficulty matches your developmental stage, usually ideal for ages eight to fourteen.
-
Verify component variety to ensure you have enough materials for over twenty different DIY projects.
-
Look for safety and quality by choosing non-toxic, durable materials that withstand repeated assembly and disassembly.
-
Ensure the package includes a detailed instruction manual to boost confidence and reduce assembly frustration.
How to Build Your First Robot with a Robot Kit for Kids
Bringing your first mechanical creation to life with Experiment Kits involves following a logical sequence from unboxing to testing. Take your time laying out all the pieces on a clean desk so you can easily find connectors, straws, and wheels. Following the structured manual step-by-step prevents alignment errors and ensures your moving model functions correctly.
-
Step one involves sorting all components by type, separating connectors from structural tubes and wheels.
-
Step two requires reading the initial assembly instructions for a simple base model, such as a rolling cart or a walking frame.
-
Step three is to snap the structural straws into the joints firmly to build a sturdy chassis frame.
-
Step four involves attaching the wheels or moving limbs, ensuring they spin freely without catching on the frame.
-
Step five requires testing your completed model on a flat table to observe how motion transfers through your design.
Simple Robot Projects to Try with a Robot Kit for Kids
Once you master the basic assembly steps, you can branch out into dozens of exciting configurations using the same set of components. Trying multiple designs helps you understand how weight distribution and balance affect movement. Here are some fun projects to build next:
-
Straw-based walking creatures allow you to build multi-legged linkages that mimic insect movement using pivoting connectors.
-
Rolling delivery carts let you construct a four-wheeled chassis capable of carrying small lightweight objects across the room.
-
Rotating windmill models help you explore rotational energy by mounting spinning blades to a fixed vertical tower.
-
Mechanical moving models introduce real-world robotics and engineering concepts in a fun and engaging way.
Tips to Make Building a Robot Easier with a Robot Kit for Kids
Building mechanical models becomes much smoother when you adopt organized workspace habits. Keeping your pieces contained in small trays stops rolling parts from falling onto the floor. If a connection feels too tight, ask an older friend or family member for assistance rather than bending the plastic pieces too hard.
-
Organise pieces by colour or shape to speed up the search process during complex builds.
-
Build on a flat surface like a clean dining table or desk to provide the stability needed for precise alignment.
-
Take short breaks by stepping away for a few minutes to clear your mind if a particular joint proves difficult to snap together.
-
Follow the instruction manual sequentially instead of guessing the placement of structural connectors.
-
Keep your workspace well-lit so you can easily distinguish between different sizes of connectors and straws.
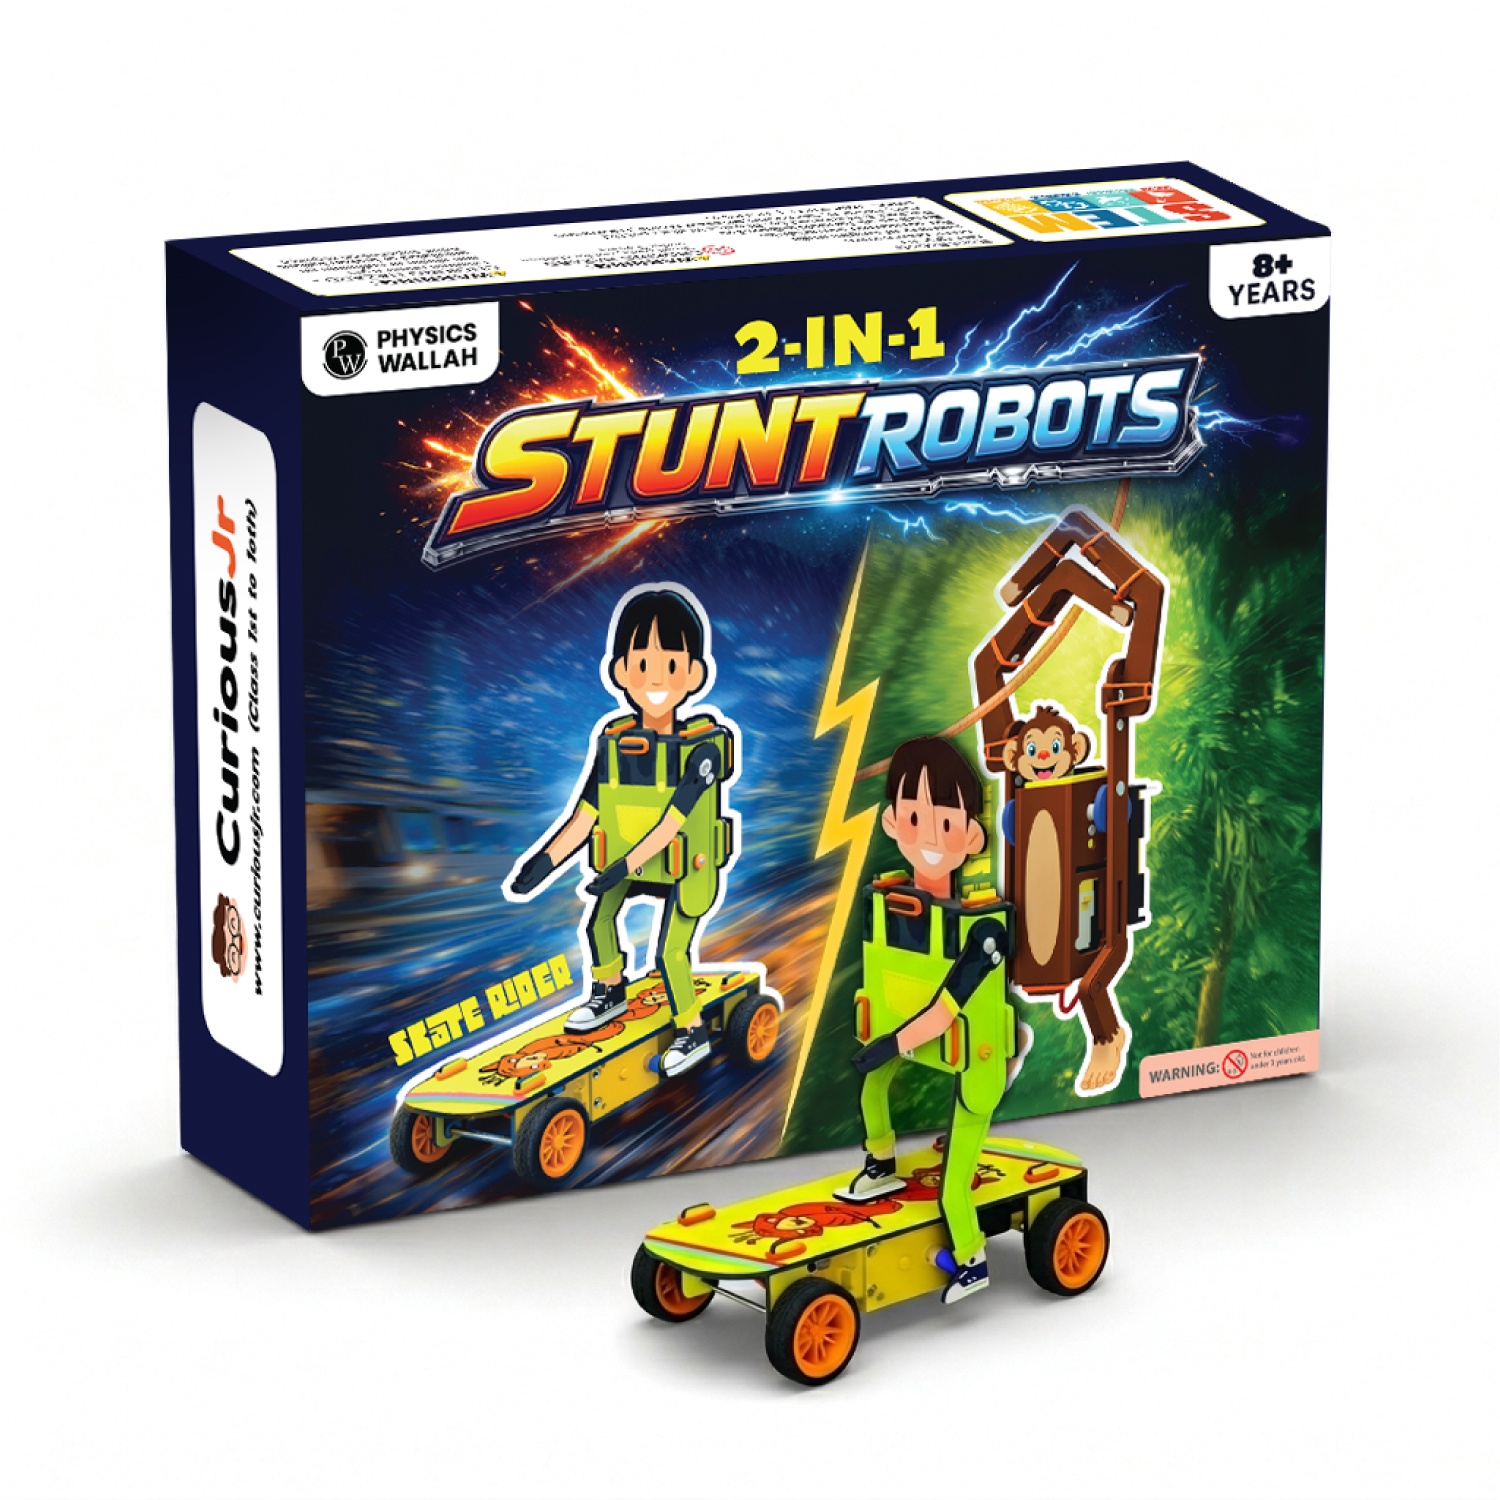
Also Check - 2-in-1 Stunt Robots DIY Kit for Kids
Mistakes to Avoid When Using a Robot Kit for Kids
Beginners often run into minor setbacks that can easily be prevented with a little foresight. Rushing through the manual is the most common reason models fail to move properly on the first try. Paying close attention to orientation diagrams will save you from having to take apart half your creation later.
-
Skipping the manual and trying to build from memory often leads to missing structural supports.
-
Forcing mismatched pieces together can snap the plastic tabs permanently and ruin your components.
-
Ignoring balance when building top-heavy models causes them to tip over immediately upon movement.
-
Working in a cluttered area increases the risk of losing small connectors and crucial wheels.
-
Neglecting to test joint movement during assembly leads to stiff mechanisms that refuse to roll or walk.
How to Practise Basic Robotics Skills with a Robot Kit for Kids
Regular practice transforms basic building tasks into intuitive engineering knowledge. Try modifying existing instruction designs by adding extra wheels or lengthening the structural arms to see how the changes affect stability. Documenting your custom designs in a notebook helps you remember which structural shapes support weight the best.
-
Experiment with weight by placing small coins on different parts of your model to test load-bearing limits.
-
Design custom creations by putting the instruction manual away and trying to build a completely original moving animal.
-
Share your creations with family members to explain how the mechanical joints operate and transfer motion.
-
Rebuild older models with new modifications to challenge your problem-solving abilities and spatial awareness.
-
Keep a design journal to sketch out new ideas before you start snapping pieces together.
-
Explore how different gear ratios alter the speed and power of your moving mechanical models.
-
Participate in school science exhibitions by presenting your custom engineering builds with confidence.
Robot Kit for Kids FAQs
What age is best to start using a robot kit for kids?
Children aged eight to fourteen find these kits ideal because they possess the fine motor skills required for snapping small connectors and following written assembly guides. Younger children can also participate with adult supervision.
Do I need any special tools to build a robot kit for kids?
No special tools or soldering irons are required for modular construction sets. Everything needed to connect the pieces is already included in the box.
Can I build multiple projects with just one robot kit for kids?
Yes, comprehensive sets provide over two hundred components that allow you to build and rebuild more than twenty different moving models.
How does building robots help with school subjects?
Building physical models reinforces concepts found in science, mathematics, and design technology by letting students see abstract textbook theories come to life in a tangible way.