How to Do Science Experiments at Home: Beginner's Guide for Kids
Learning scientific concepts solely from heavy textbooks often feels dry and detached from the real world. Many young learners struggle to connect abstract formulas to the things they see around them every day. Hands-on testing bridges this gap instantly by transforming quiet theoretical lessons into vivid physical activities.
Setting up science experiments at home allows young minds to investigate basic physics, chemistry, and biology using safe, familiar items.
This article covers everything required to start exploring scientific principles right from your living room or kitchen table safely and interactively.
Importance of Science Experiments at Home
Engaging with hands-on activities outside a traditional classroom builds critical thinking and problem-solving skills naturally. When children observe chemical reactions or physical changes up close, textbook definitions convert into clear visual understanding.
-
Encourages Active Learning: Kids move from passive reading to active participation, making information retention significantly higher.
-
Builds Problem-Solving Abilities: Hypothesising outcomes and observing real results teaches logical reasoning and critical analysis.
-
Spark Lifelong Curiosity: Exploring everyday items fosters a healthy sense of wonder about how the natural world operates.
-
Strengthens Family Connection: Completing structured tasks together provides meaningful, screen-free educational entertainment.
By engaging in easy experiments for kids, young learners build confidence in asking questions and testing their own ideas.
What You Need for Science Experiments at Home
Starting your home laboratory does not require complex or expensive laboratory apparatus. Most fundamental concepts can be demonstrated using standard household goods and targeted activity kits.
|
Category |
Items Required |
Purpose in Experiments |
|
Household Liquids |
Water, milk, dish soap, food colouring |
Exploring density, surface tension, and liquid mixing. |
|
Pantry Basics |
Baking soda, vinegar, cornstarch |
Creating safe chemical reactions and non-Newtonian fluids. |
|
Simple Tools |
Balloons, plastic bottles, straws, craft sticks |
Building structural models and testing gas propulsion. |
|
Junior Science Kits |
Pre-measured safe reagents, color mixing trays |
Providing structured DIY science experiments with step-by-step guidance. |
Having a designated tray or storage box with these basic items ensures that science experiments at home remain organized and simple to launch at short notice.
What is the Best Way to Conduct Science Experiments at Home
To make every activity an educational success, follow a simple structured approach. This ensures safety while teaching the basics of the scientific method.
Step 1: Select an Age-Appropriate Activity
Choose a project matching the learner's current understanding. Simple surface tension tests or basic color mixing work best for early stage learners, while gas-releasing reactions suit older children.
Step 2: Gather All Required Materials
Set out all necessary ingredients and safety tools before beginning. Having everything prepared prevents delays and keeps focus entirely on the activity.
Step 3: Formulate a Simple Hypothesis
Ask your child what they think will happen before mixing ingredients. Encouraging them to guess the outcome trains them to think like real researchers.
Step 4: Conduct the Activity
Follow guided instructions closely. For example, when conducting a color exploration task, slowly swirl primary shades to observe how secondary patterns emerge.
Step 5: Discuss the Scientific Results
Review what occurred during the test. Ask questions such as:
-
What changed when the two items were mixed?
-
Did the result match your initial prediction?
-
Why do you think the reaction happened that way?
Following this sequence makes every session structured, educational, and fun.
Popular DIY Activities to Try at Home
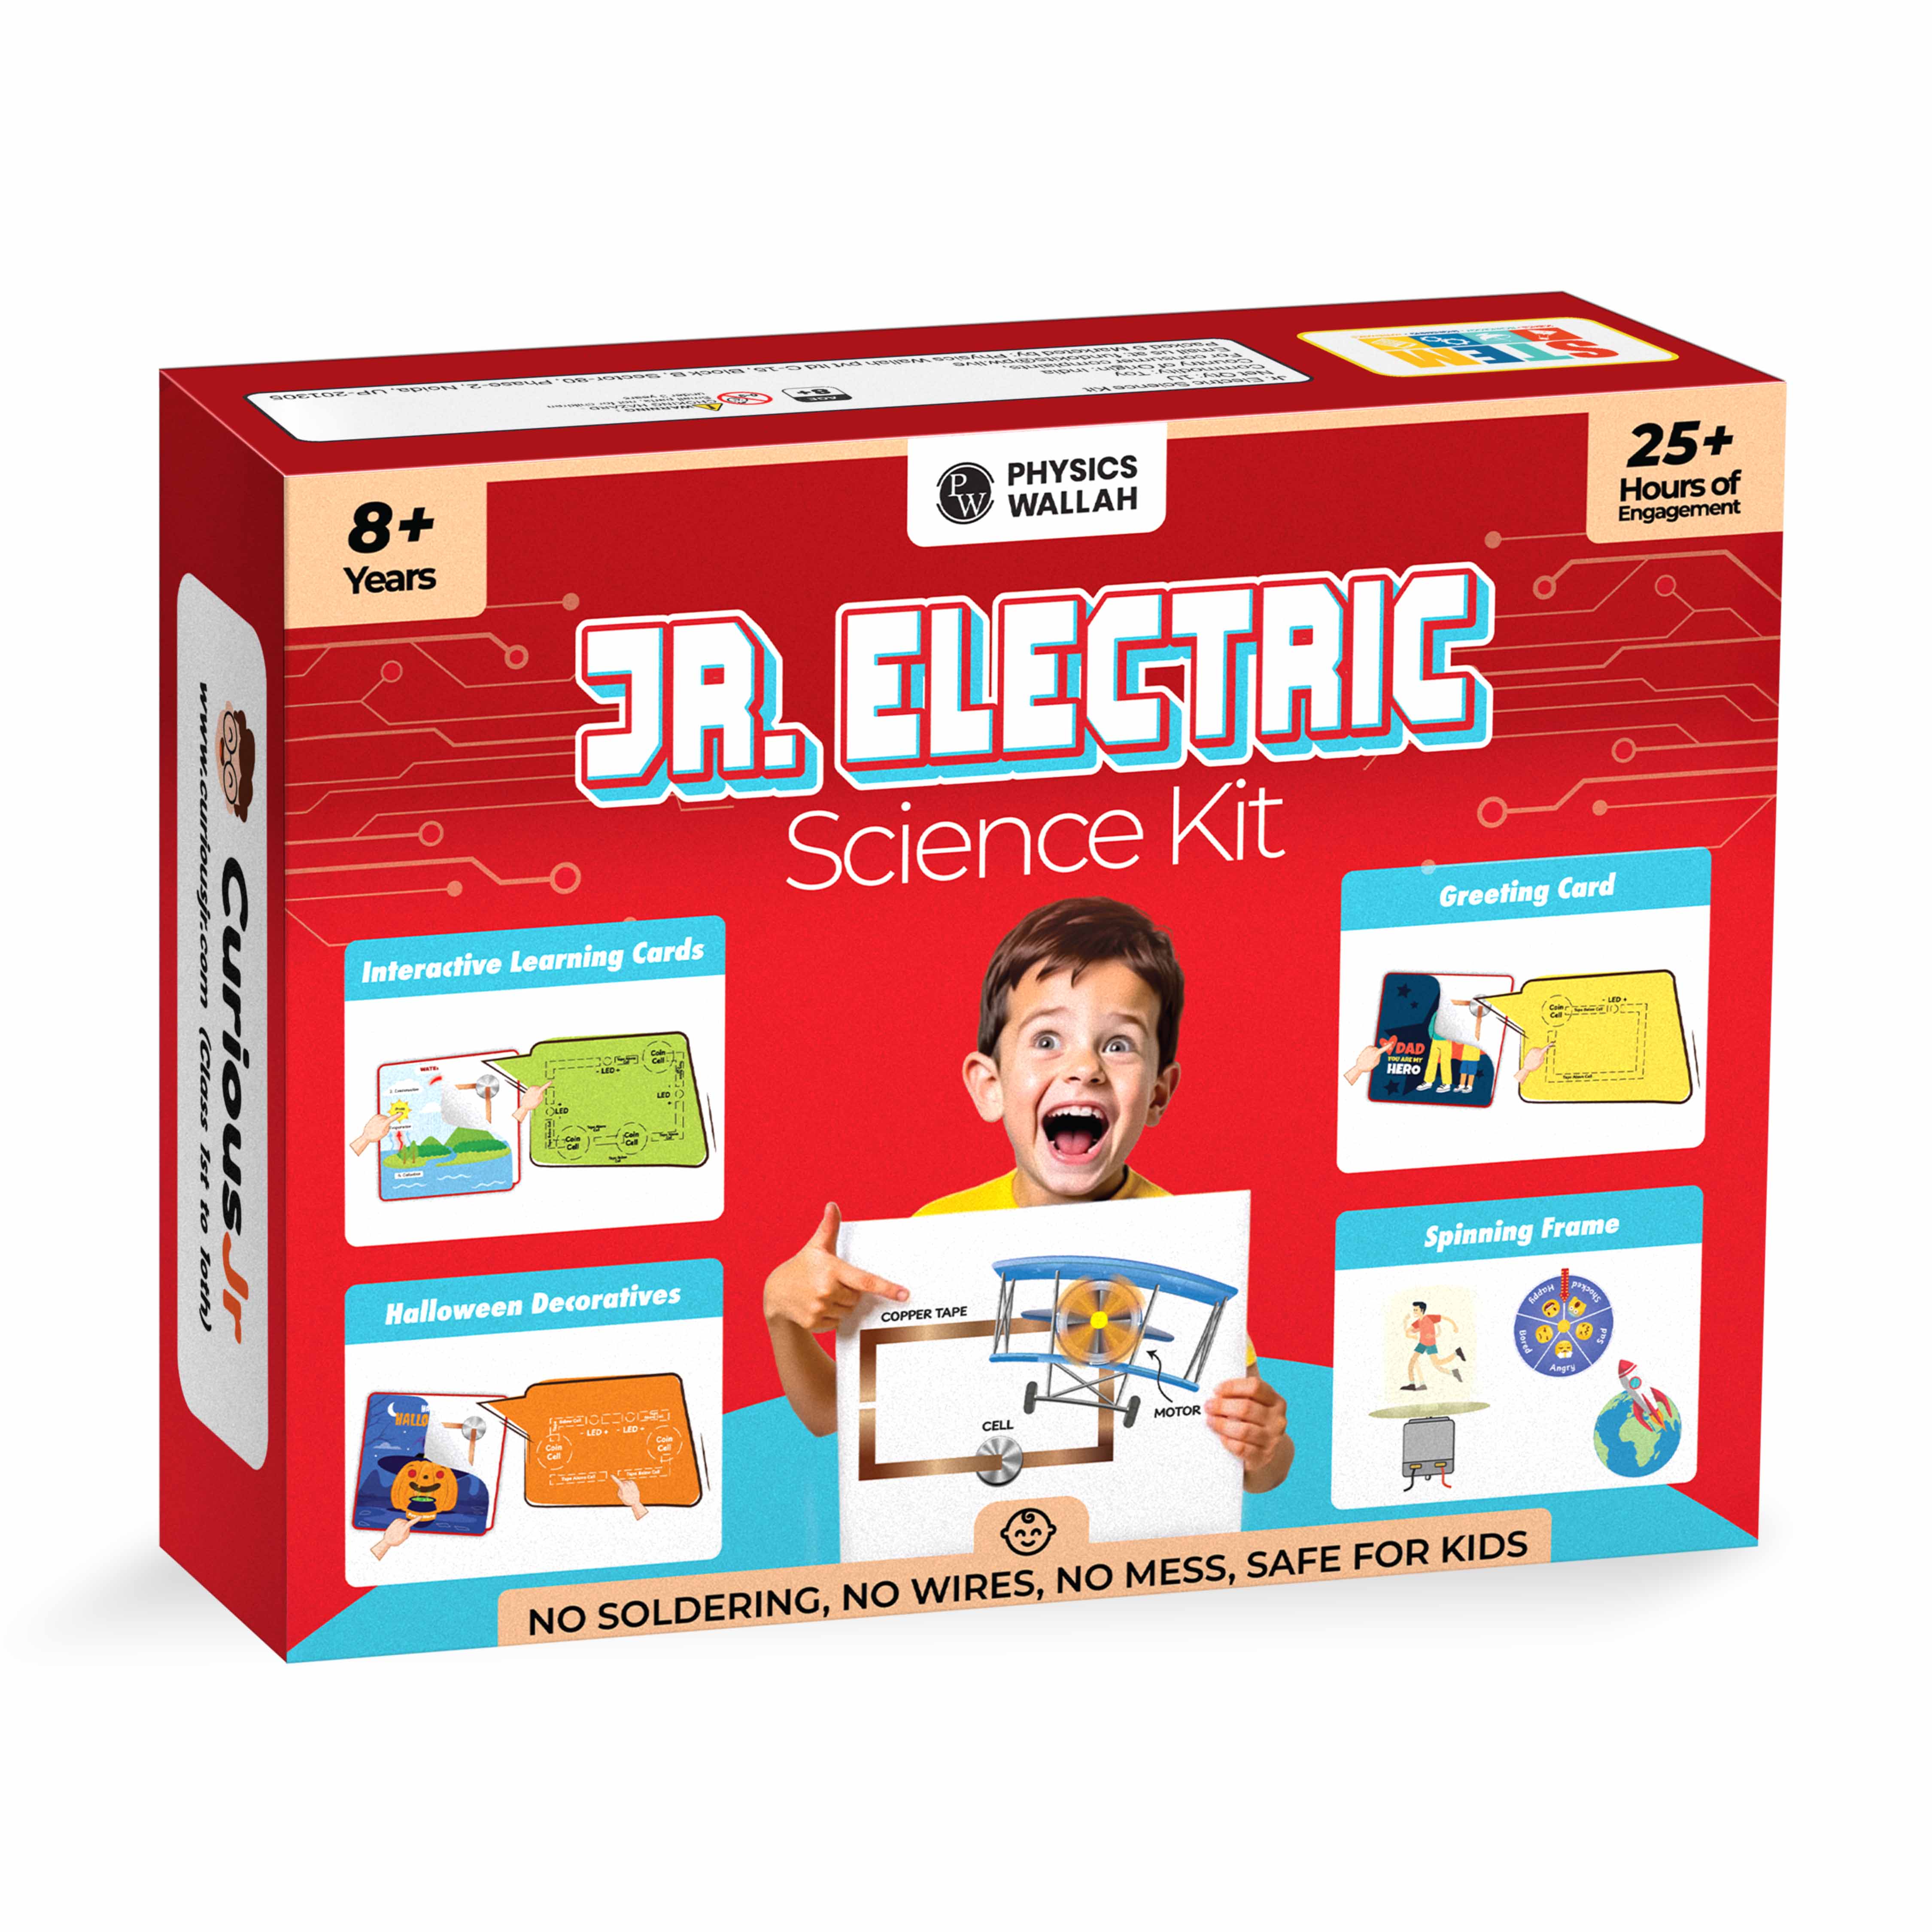
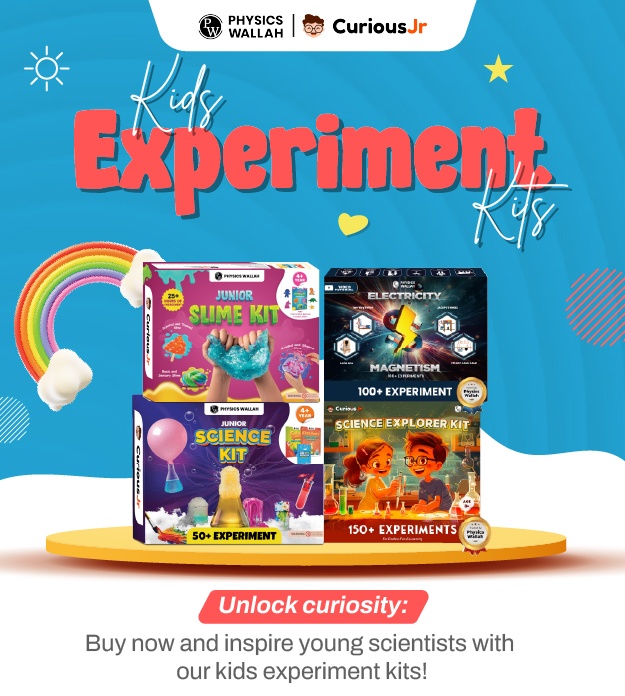
Here are several top activities that serve as excellent science experiments for beginners, using safe ingredients and simple procedures. A Junior Science Kit can also provide children with suitable materials and tools to make these experiments more engaging and hands-on.
-
Color Quest Exploration
Mixing vibrant shades allows children to observe color theory in action. By placing different liquid solutions together, learners watch how primary colors combine to form dynamic new hues.
-
Fiz-tastic Chemical Reactions
Combining basic household acidic and alkaline compounds generates exciting, bubbly carbon dioxide foam. This activity introduces the concept of chemical changes and gas expansion in a completely safe, controlled manner.
-
Magic Milk and Surface Tension
Adding drops of food coloring to a bowl of milk and touching the center with dish soap creates a striking movement of colors. The soap breaks the surface tension of the liquid, causing the fats and pigments to swirl rapidly.
-
Balloon Inflator Challenge
Using the gas produced by mixing safe kitchen items, kids can automatically inflate a balloon attached to the top of a plastic bottle. This vividly demonstrates how chemical reactions can produce expanding gases to perform physical work.
When Should Kids Try Science Experiments at Home
Hands-on learning can easily fit into a child's weekly routine without overwhelming their schedule. Timing these activities effectively keeps enthusiasm high.
-
Rainy Days: Indoor testing provides constructive, engaging activity when outdoor play is limited.
-
Weekend Family Projects: Dedicating an hour during weekends allows parents and children to collaborate on longer tasks.
-
School Holiday Enrichment: Keeping brain activity sharp during breaks prevents holiday learning loss.
-
After-School Skill Building: Completing a quick 15-minute activity helps reinforce concepts taught in school science lessons.
Integrating regular short sessions ensures that science experiments at home remain a thrilling hobby rather than a burdensome chore.
Tips to Make Science Experiments at Home Safe and Fun
Keeping sessions enjoyable relies heavily on creating a stress-free environment where minor messes are managed easily. A School Science Project Kit can provide children with practical materials to explore concepts through engaging, hands-on activities.
-
Designate a Clean Space: Work on a flat surface protected by plastic sheets or old newspapers to make cleanup quick.
-
Keep Sessions Short: Focus on quality interactions lasting 20 to 30 minutes to match young attention spans.
-
Celebrate Unexpected Results: If an activity does not go as planned, use it as a learning moment to ask why the outcome differed.
-
Use Clear Containers: Transparent plastic cups or glass jars allow kids to see reactions from all angles without spilling.
Safety Measures to Follow During Science Experiments at Home
Safety is the absolute priority when managing hands-on activities with children. Always maintain standard precautions regardless of how simple the task appears.
-
Adult Supervision: Ensure an adult is present at all times to monitor ingredient handling and keep procedures safe.
-
Use Kid-Safe Materials: Restrict all activities to non-toxic, age-appropriate items specifically cleared for junior use.
-
Eye and Skin Protection: Wear protective safety glasses when handling fizzy reactions to prevent splashes.
-
Proper Hand Hygiene: Wash hands thoroughly with soap and water after finishing every experimental setup.
Following these core precautions guarantees that carrying out science experiments at home stays completely secure and rewarding for everyone involved.
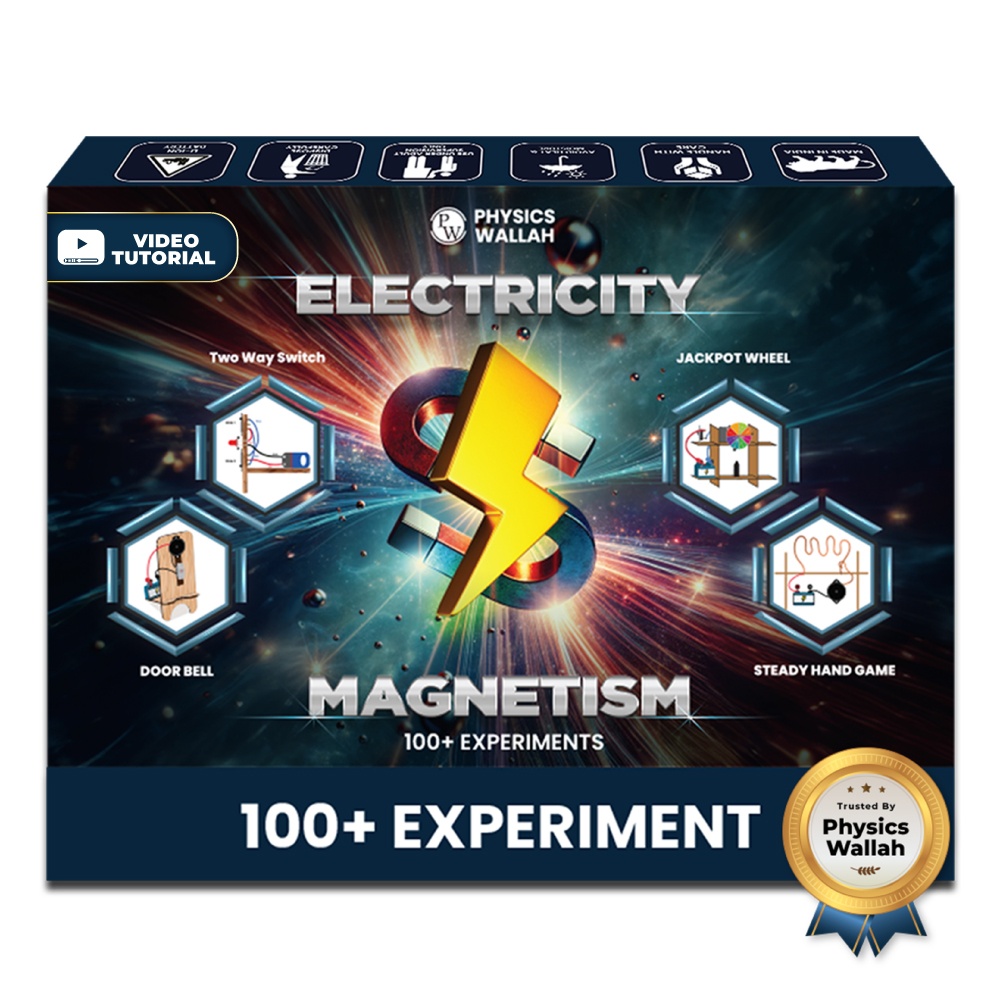
Read More: Electricity & Magnetism Science Project Ideas for Students
Science Experiments at Home FAQs
Are science experiments at home safe for young kids?
Yes, provided that adult supervision is present and activities use non-toxic, kid-safe household materials or certified learning kits.
What are the easiest DIY science experiments to try first?
Color mixing tasks and safe fizzy baking soda reactions are ideal starting activities for younger children due to their immediate visual results.
Do I need specialized laboratory equipment for home activities?
No, standard household items like cups, spoons, water, food coloring, and vinegar are sufficient for most beginner testing setups.
How do easy experiments for kids help with school performance?
Hands-on activities turn theoretical scientific terms into clear visual concepts, improving understanding, memory retention, and problem-solving skills.
How long should a home science session last?
Keep beginner sessions between 20 to 30 minutes to keep engagement high and match young children's attention spans effectively.