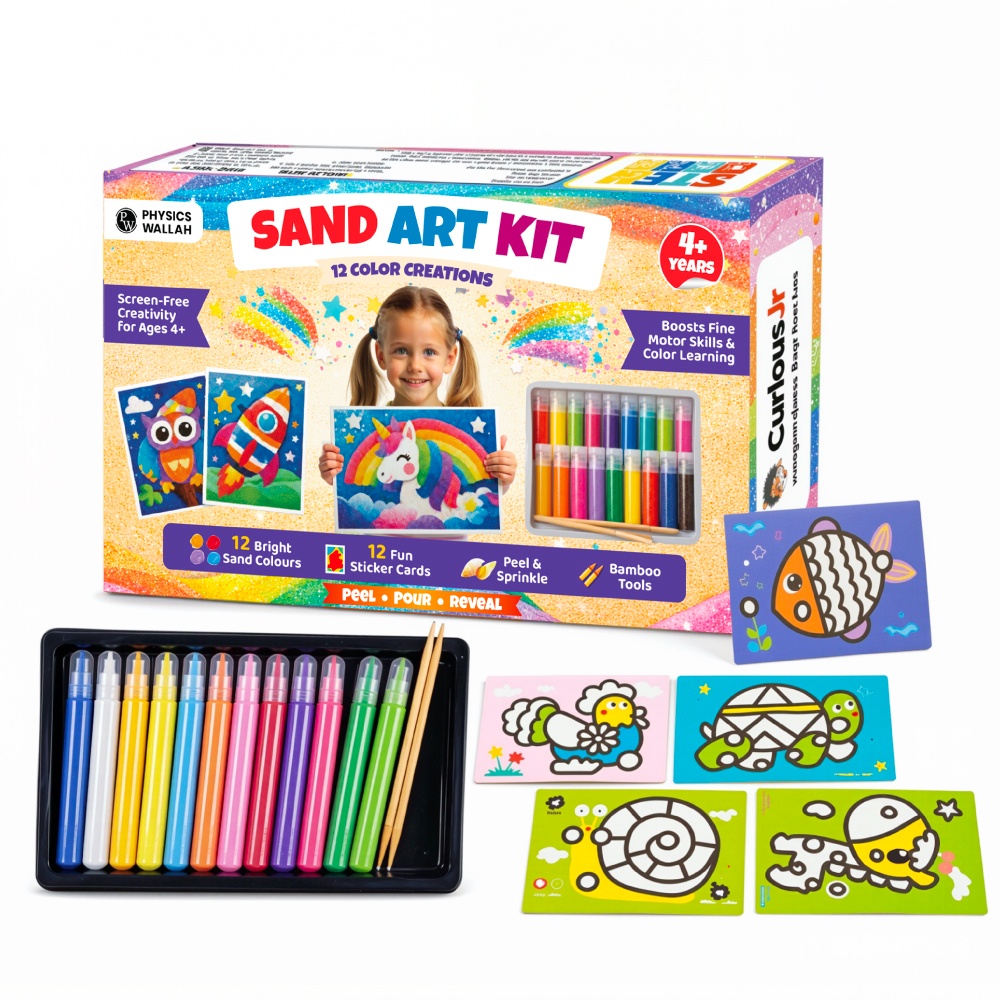
How to Make Sand Art at Home: Step-by-Step Guide for Kids
Finding engaging, screen-free activities that captivate young minds can often feel like a challenge for parents and guardians. rainy afternoons or long school holidays frequently leave children feeling bored and restless.
Setting up Kids sand art at home provides an immediate solution by combining creative expression with tactile play. This delightful craft encourages children to explore patterns, experiment with color harmony, and develop steady hands as they pour vibrant grains into clear containers. Beyond being an entertaining pastime, it allows young learners to transform simple materials into beautiful keepsake bottles.
By following a clear structured approach, families can enjoy an enriching artistic experience directly from their living room or kitchen table without unnecessary hassle or mess.
What Is Sand Art at Home?
Sand art at home is a creative visual craft where children layer differently coloured sand inside clear glass or plastic containers to form distinct patterns, stripes, and decorative shapes. Originating from ancient traditional art forms across various cultures, this modern simplified version is tailored specifically for young crafters at home.
The activity relies on physics principles like grain settling, friction, and density. As fine particles fall into a container, they form natural angles known as the angle of repose. By manipulating these angles using basic tools like funnels or skewers, children learn how to make sand art while gaining a practical understanding of how fine granular materials behave when stacked together tightly.
Things You Need for Sand Art at Home
Preparing your workspace with the correct materials ensures a smooth and tidy session. Gathering everything beforehand keeps young crafters focused on their designs.
-
Clear Glass or Plastic Containers: Mason jars, small bottles, or decorative vases with tight-fitting lids work best.
-
Coloured Craft Sand: A variety of bright shades such as blue, yellow, red, green, and purple.
-
Small Funnels: Plastic or paper funnels with narrow spouts to guide the grains accurately.
-
Layering Tools: Wooden skewers, toothpicks, or plastic straws to manipulate layers.
-
Craft Spoons or Scoops: Small spoons for controlled pouring.
-
Protective Covering: Old newspapers, plastic tablecloths, or shallow baking trays to catch stray spills.
-
Sealant: Cotton balls, cork stoppers, or craft glue to secure the top layer.
Step-by-Step Guide to Sand Art at Home
Following a structured method ensures clean lines and prevents colours from unintentionally muddying together. Alongside creative activities, Kids Experiment Kits can introduce children to simple hands-on experiments, encouraging curiosity, observation, and learning through practical exploration.
1. Workstation Preparation
Lay down old newspapers or a large baking tray on a flat table. Placing your clear container inside a tray catches stray grains, keeping clean-up quick and simple.
2. Base Layer Application
Select a primary shade to start your craft. Position a small funnel over the mouth of your bottle and use a spoon to transfer the first layer of grains gently.
3. Layering and Tipping
Pour alternate colours in varying quantities. To create dynamic wave patterns, slant the container slightly while pouring a new shade, then return it upright.
4. Creating Intricate Designs
Insert a wooden skewer gently down along the inner glass wall and pull it upward or downward. This simple movement pushes adjacent layers into sharp zigzag patterns.
5. Packing and Sealing
Fill the container completely to the brim. Place a small cotton pad tightly at the top to eliminate air gaps, then press the cork stopper firmly into place to secure your DIY sand art project.
Easy Sand Art at Home Ideas for Kids
Young artists often enjoy following simple thematic designs before attempting complex patterns. Here are four beginner-friendly ideas that yield striking visual results:
-
Ocean Waves: Alternate deep navy, sky blue, turquoise, and white layers. Tilt the bottle at a forty-five-degree angle between pours to mimic gentle rolling sea waves.
-
Sunset Gradient: Layer rich dark purple at the base, followed by crimson red, bright orange, warm yellow, and soft pink to mirror an evening horizon.
-
Desert Horizon: Stack natural tan sand with shades of terracotta, ochre, and pale cream, inserting occasional gentle downward skewer pokes to resemble sand dunes.
-
Rainbow Cylinder: Build equal, vibrant horizontal bands of red, orange, yellow, green, blue, and purple for a classic, high-contrast decorative display piece.
Safety Tips for Sand Art at Home
Maintaining a safe working environment keeps crafting sessions fun and stress-free for everyone involved. Using Kids Activity Kits can make these sessions more engaging by providing age-appropriate activities that encourage creativity, hands-on learning, and productive play.
-
Select Non-Toxic Materials: Always choose safety-certified, non-toxic coloured sand specifically designed for young crafters.
-
Work in Well-Ventilated Areas: Fine particles can occasionally float in the air during active pouring, so keep windows open or craft in an airy room.
-
Avoid Facial Contact: Teach children not to rub their eyes or faces while handling fine grains to prevent mild physical irritation.
-
Supervise Tool Usage: Keep a watchful eye on younger children when they handle pointed objects like wooden skewers or glass jars.
-
Use Sturdy Plastic Jars: For younger toddlers, substitute delicate glass bottles with shatterproof clear plastic containers.
Creative Ways to Decorate Your Sand Art at Home
Once the internal layers are complete, decorating the outside of the container adds a personal touch to the final display.
-
Ribbon and Twine Accents: Tie natural jute twine or colourful satin ribbons around the neck of the jar, finishing with a small bow.
-
Personalised Labels: Attach small card tags with hand-written names, dates, or messages using a touch of craft glue.
-
Seashell Toppers: Glue tiny natural seashells or small decorative pebbles onto the top of the cork seal for a nautical theme.
-
Charm Attachments: Thread small plastic charms or wooden beads onto the hanging twine to enhance the overall aesthetic appeal.
Common Mistakes to Avoid During Sand Art at Home
A few small errors can disrupt an otherwise beautiful pattern. Avoiding these common missteps keeps designs crisp and defined.
|
Common Mistake |
Visual Result |
Easy Prevention Method |
|
Shaking the Container |
Blended, muddy colors with loss of distinct lines |
Keep the container resting firmly on a flat surface throughout the activity. |
|
Leaving Air Gaps at Top |
Layers shift and mix when the jar moves |
Pack sand tightly to the very brim and insert a small cotton ball before capping. |
|
Pouring Too Fast |
Splatters and uneven, accidental layer spills |
Use small spoons and pour slowly through a narrow plastic funnel. |
|
Using Damp Jars |
Grains stick to the walls, creating clumped spots |
Wash and dry all containers completely several hours before starting. |
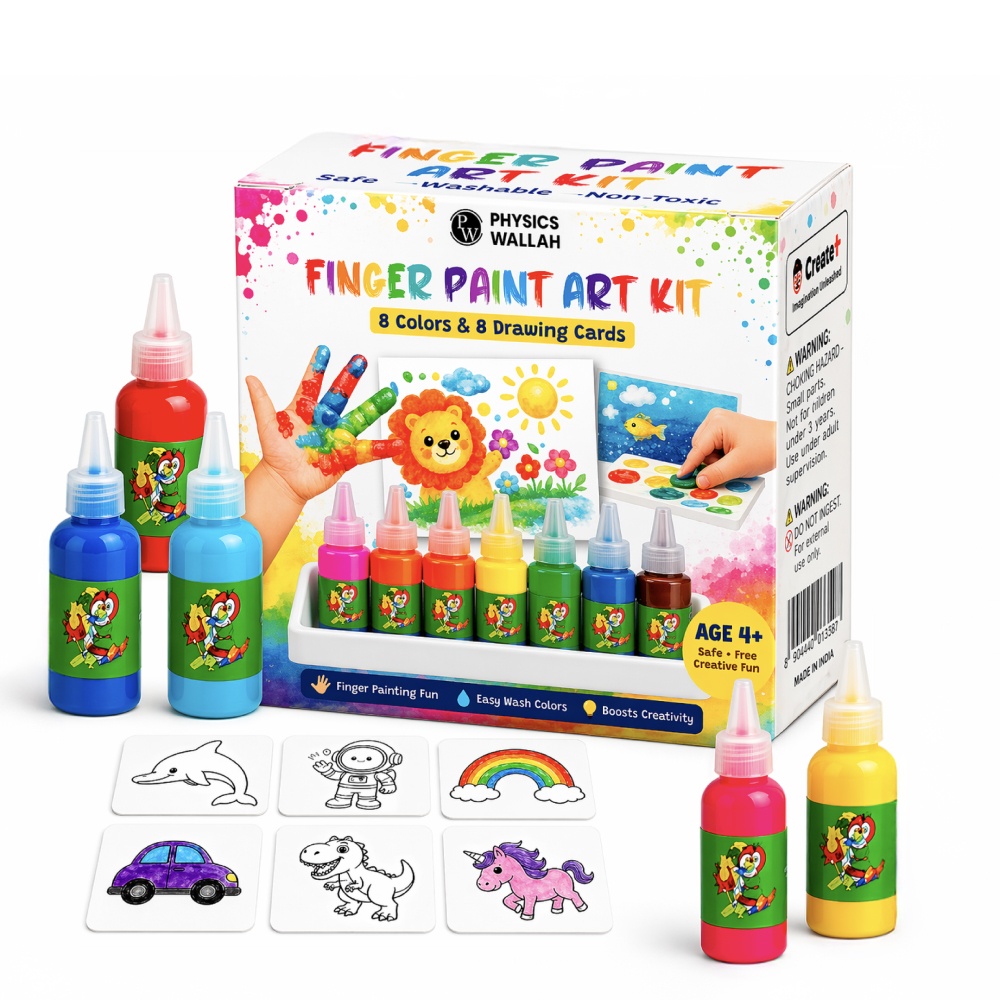
Also Check, PW Finger Paint Art Kit for Kids
Benefits of Sand Art at Home for Kids
Engaging in sand art for kids offers numerous educational and developmental benefits beyond simple entertainment.
-
Enhances Fine Motor Control: Spooning, pouring, and manipulating small funnels strengthens hand-eye coordination and finger dexterity.
-
Promotes Colour Recognition: Selecting harmonising or contrasting shades aids visual learning and basic colour theory awareness.
-
Encourages Focus and Patience: Layering fine grains requires steady movements, encouraging children to slow down and practice mindfulness.
-
Fosters Spatial Understanding: Planning how much volume each layer occupies helps children grasp basic geometric concepts and spatial relations naturally.
Read More: Simple Science Experiments That You Can Do At Your Home
Sand Art at Home for Kids FAQs
How do I stop sand art layers from mixing over time?
Fill the bottle completely to the top so there is no empty space left. Pack a tiny cotton ball underneath the lid to compress the grains tightly, preventing any movement when the bottle is moved.
What container works best for sand art at home?
Clear glass or rigid transparent plastic containers with narrow necks and tight lids work best. Narrow openings make sealing easier and protect the internal structure.
Can we make coloured sand at home using table salt?
Yes, fine table salt or white play sand can be combined with a few drops of liquid food colouring or crushed chalk in a sealed bag to create homemade shades.
What is the cleanest way to pour sand into narrow bottles?
Using a small funnel along with a narrow-spouted spoon keeps the stream controlled and prevents accidental spills on the outer glass surface.
Is sand art suitable for preschool children?
Yes, provided adults supervise closely, choose shatterproof plastic containers, and ensure all materials used are completely non-toxic and child-safe.