How to Make Science Projects at Home: Step-by-Step Experiments for Students

Many students struggle to connect abstract classroom concepts with the real world, leading to boredom or frustration during revision. Performing practical experiments turns confusing theory into interactive, hands-on learning.
When you build models or test reactions yourself, complex ideas suddenly make sense. Creating science projects at home gives you the freedom to explore physics, chemistry, and biology using basic household materials.
This article walks you through easy experiments, proper safety measures, and presentation strategies to help you excel in your school assignments.
What Are Science Projects at Home?
School Science projects carried out at home are practical experiments, hands-on investigations, or working models built outside a formal laboratory setting. Instead of relying purely on expensive equipment, these activities use household items or specialized learning kits to demonstrate scientific laws.
-
Hands-on exploration: They convert textbook theories into real-world observations.
-
Skill development: Students build critical thinking, problem-solving, and analytical skills.
-
Flexible pace: You can repeat steps, test variables, and learn without classroom time limits.
Engaging in DIY science projects helps bridge the gap between classroom teaching and real-life applications, making science enjoyable and memorable.
What are the Materials Needed for Science Projects at Home?
Starting a project does not require an advanced laboratory setup. Most experiments rely on everyday household ingredients alongside standard school stationery. Having these items organized before you start ensures a smooth process.
|
Category |
Typical Items Required |
Purpose in Experiments |
|
Kitchen Supplies |
Baking soda, vinegar, food colouring, salt, dish soap |
Chemical reactions, density tests, and color indicators |
|
Household Containers |
Plastic bottles, glass jars, cups, funnels |
Holding liquids, building structural models |
|
Stationery & Tools |
Scissors, tape, glue, rulers, markers |
Constructing frames, securing components, taking measurements |
|
Specialized Kits |
Pre-tested tools, wires, motors, measurement tools |
Building structured science projects for students with guaranteed results |
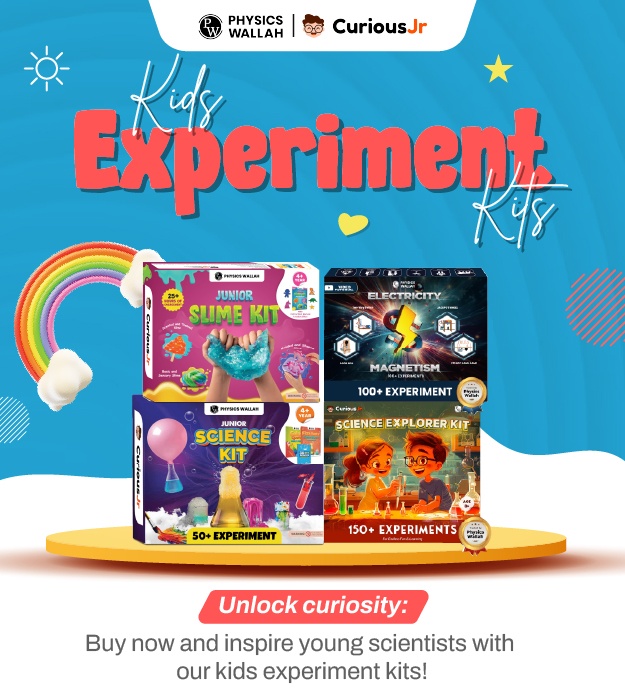
Collecting these items beforehand saves time and prevents interruptions during the experiment. Kids Experiment Kits can make this process easier by bringing together essential materials in one convenient set, allowing children to focus on hands-on exploration and learning.
How to Make Science Projects at Home for Students?
Here are three complete step-by-step experiments designed to explain fundamental principles of chemistry and physics clearly.
Project 1: Baking Soda and Vinegar Chemical Reaction
This classic experiment demonstrates an acid-base reaction that produces carbon dioxide gas.
-
Materials Needed:
-
2 tablespoons of baking soda (sodium bicarbonate)
-
1/2 cup of vinegar (acetic acid)
-
1 clear plastic bottle or tall glass
-
Red or orange food colouring
-
A tray to catch spills
-
Procedure:
-
Place the plastic bottle in the center of the tray.
-
Pour 1/2 cup of vinegar into the bottle and add 3 to 4 drops of food colouring.
-
Add 2 tablespoons of baking soda quickly into the bottle.
-
Step back and watch the foam rise and overflow.
-
Observation:
-
The mixture fizzes instantly, forming a rich, thick foam that spills over the top of the bottle.
-
Scientific Explanation:
-
Baking soda is a base and vinegar is an acid. When mixed, they undergo a chemical reaction that generates carbon dioxide gas ($CO_2$). The gas rapidly creates pressure and expands, forcing the liquid out as foam.
Project 2: Density Tower with Household Liquids
Learn how different liquid densities stack on top of each other without mixing immediately.
-
Materials Needed:
-
1 tall, clear glass jar
-
1/4 cup of honey
-
1/4 cup of dish soap
-
1/4 cup of water (mixed with blue food colouring)
-
1/4 cup of vegetable oil
-
Procedure:
-
Pour the honey into the bottom of the glass jar first.
-
Slowly pour the dish soap down the inside edge of the jar.
-
Add the coloured water very slowly over the back of a spoon.
-
Finish by pouring the vegetable oil carefully along the side.
-
Observation:
-
The four liquids settle into distinct, visible layers without blending together.
-
Scientific Explanation:
-
Density refers to how much mass is packed into a given volume. Honey is the densest liquid, so it sits at the bottom. Vegetable oil is the least dense, allowing it to float at the very top.
Project 3: Homemade Electromagnet
Discover how electricity creates a magnetic field using simple materials.
-
Materials Needed:
-
1 large iron nail (about 3 inches long)
-
1 meter of thin insulated copper wire
-
1 AA battery
-
Small paperclips
-
Procedure:
-
Wrap the copper wire tightly around the iron nail, leaving 5 cm of wire loose at both ends.
-
Strip 1 cm of insulation off both wire ends.
-
Hold one bare wire end to the positive terminal of the battery and the other end to the negative terminal.
-
Touch the tip of the nail to the paperclips.
-
Observation:
-
The paperclips stick to the iron nail instantly while the battery is connected.
-
Scientific Explanation:
-
Electric current flowing through the coiled wire creates a temporary magnetic field around the iron nail, magnetising it. Disconnecting the wire cuts the current and drops the paperclips.
Check Out: PW Science Experiment Kit
Easy Science Projects at Home Using Everyday Items
If you want quick experiments without lengthy preparations, try these simple setups using common items found around your house.
-
Walking Water Experiment:
-
Place three glass cups side by side. Fill the outer two with water and different food colours, leaving the center cup empty. Place folded paper towels connecting the outer cups to the center cup.
-
Result: Capillary action draws liquid up the paper towel, transferring water into the middle cup to create a new color blend.
-
Floating Egg in Salt Water:
-
Fill two glasses with plain water. Stir 4 tablespoons of salt into one glass. Drop an egg into each glass.
-
Result: The egg sinks in fresh water but floats in salt water because dissolved salt increases water density.
-
Static Electricity Balloon Lift:
-
Inflate a balloon and rub it against a wool sweater or dry hair for 20 seconds. Hold it near small bits of paper.
-
Result: Negative charges build up on the balloon surface, attracting the neutral paper pieces instantly.
These quick tasks offer practical insights into capillary action, fluid dynamics, and static forces with zero hassle.
How to Present Science Projects Made at Home?
Building a functional project is only half the effort. Presenting your work clearly to teachers and classmates demonstrates your true grasp of the topic.
-
State the main question clearly: Start your presentation by explaining what problem or law your project tests.
-
Display your step-by-step method: Show your materials, step-by-step steps, and variable tests clearly using structured charts or bullet points.
-
Highlight actual results: Explain your observations accurately using measured data, recorded times, or clear changes.
-
Explain the scientific reasoning: Connect your observations directly to classroom science rules or textbook definitions.
-
Prepare for questions: Anticipate common questions from classmates about what went wrong or how you could improve the experiment.
What are the Learning Ideas for Science Projects at Home?
You can transform simple tasks into deeper learning opportunities by tweaking key variables and tracking changes over time.
-
Change one variable at a time: Adjust liquid temperatures, ingredient proportions, or surface areas to observe how results alter.
-
Maintain a dedicated logbook: Record dates, exact quantities, time durations, and unexpected visual changes systematically.
-
Compare theoretical predictions with real results: Note differences between what your textbook predicts and what actually happens during trials.
-
Build custom extensions: Modify an initial working model to solve another related real-world problem.
Testing variables builds systematic habits that help in higher-level practical examinations and research tasks.
Safety Tips for Science Projects at Home
Safety is essential when carrying out any scientific investigation outside a school laboratory. Following clear safety rules keeps your study area clean and helps prevent minor injuries. Using Kids Activity Kits with age-appropriate materials and guided activities can make hands-on learning more organised, engaging, and safer for children.
-
Wear protective gear: Wear safety goggles to protect your eyes from splashes during chemical tests.
-
Work in well-ventilated areas: Conduct experiments involving strong smells or chemical reactions near open windows.
-
Handle electrical items carefully: Never touch bare wires or battery terminals with wet hands. Disconnect batteries if components grow warm.
-
Keep a clean workspace: Clear away unnecessary papers, clutter, and food before beginning your setup.
-
Adult supervision: Always ask an adult to assist when using scissors, sharp needles, heating elements, or household chemicals.
Common Mistakes to Avoid While Making Science Projects at Home
Even well-planned models can yield inaccurate results if simple steps are overlooked. Watch out for these common errors during your setup:
-
Skipping trial runs: Testing your setup for the first time on presentation day often leads to unexpected failures. Always run two practice trials beforehand.
-
Inaccurate measurements: Guessing liquid volumes or chemical proportions distorts your overall results. Use standard measuring spoons and cylinders.
-
Ignoring control groups: Failing to set up a standard comparison makes it difficult to prove your experimental variable caused the change.
-
Overcomplicating the setup: Choosing overly complex ideas often leads to incomplete work. Focus on easy science projects that clearly explain one core scientific concept.
-
Rushing observations: Rushing through reactions without taking proper notes leads to incomplete data logs.
Read More: 21 Educational STEM Projects
Science Projects at Home FAQs
What are the easiest science projects to attempt at home?
The easiest options include testing liquid density with oil and water, creating static electricity using balloons, or building a vinegar and baking soda reaction. These use simple household items and give immediate, clear results.
How do home science activities help in school exams?
Working directly with physical reactions converts theoretical concepts into clear visual memories. This practical exposure makes it much easier to recall formulas, definitions, and process diagrams during written exams.
Are specialized kits required to complete science projects at home?
No, specialized kits are not strictly required because many concepts can be demonstrated using household supplies. However, pre-tested educational kits provide accurate tools, reliable components, and guided safety instructions that streamline complex setups.
What should I do if my experiment fails to produce expected results?
Analyze your process step by step. Check your ingredient measurements, ensure your connections are secure, and verify that your materials are clean. Documenting unexpected results is a core part of authentic scientific research.
How can I make my home science project look professional for school evaluation?
Organize your workspace, use clean display boards with clear headings, label all components neatly, and support your working model with a structured data table that lists your observations and key conclusions.